...
| Table of Contents | ||||
|---|---|---|---|---|
|
Create a new template
| Info |
|---|
This functionality is not available in Simply Requirements Management for Jira |
In the admin panel of Data Forms for Confluence go to the Templates tab.

Click on Create template. A modal will open.

Add a name for the field and click Create.

Your new template is now created and will be shown to you. The template can now be further customised.

Rename the template/ add a description
To rename the template or add a description click on the current name or on More details => Add description here.

Enter a new name or description.
Submit the change by clicking on the checkmark button. Note that the change is not yet saved.

To save your changes click on the Save button. (Note that the Save button will only be enabled if there are changes to be saved.)

Add Id or Name template
Starting with Version 2.4.0 and Cloud Release 2022-08-17 you can specify how the ID or name of the data form should look like.
...
Placeholder | Replacement |
|---|---|
${yyyy} | The current year |
${yyyy-mm} | The current year and month |
${yyyy-mm-dd} | The current year, month and day |
${uuid} | A universally unique identifier |
${cid} | The pageId, issueKey, spaceKey or projectKey of the page/issue/space/project where the data form was saved |
${tid} | The id of this data form template |
${uid} | The id of the current user (since 2.5.0) |
${uname} | The display name of the current user (since 2.5.0) |
To change the Id or Name tempalte click on More details => Add id template here or Add name template here.

Enter a new it template or name template.
Submit the change by clicking on the checkmark button. Note that the change is not yet saved.

To save your changes click on the Save button. (Note that the Save button will only be enabled if there are changes to be saved.)

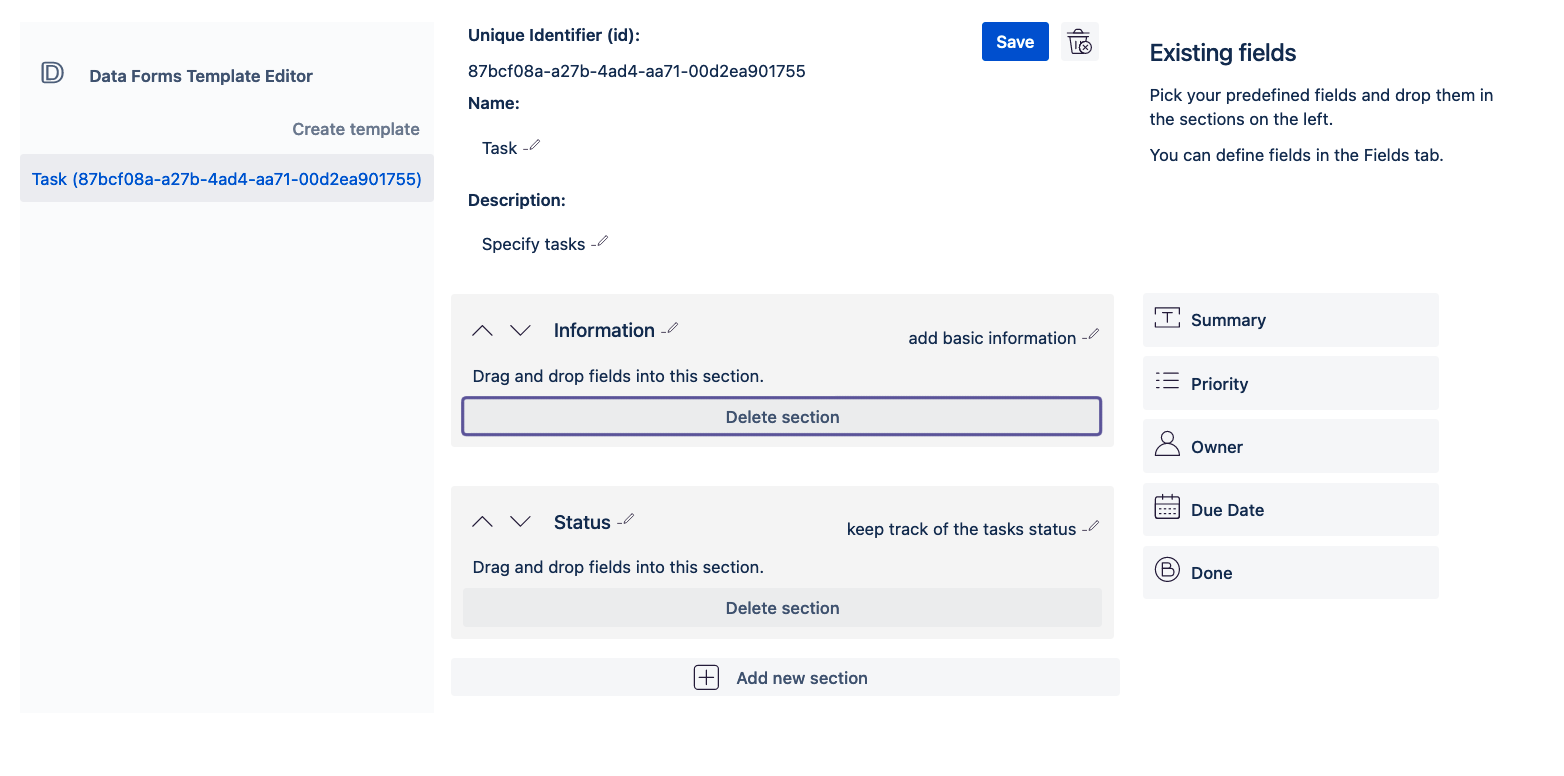
Add sections to a form
In order to add fields to your form you first have to add a section to put the fields in.
Click on the Add new section button. A modal will open.

Add a name for the section and submit the change by clicking on Create.

To add a description to the new section click on Add description here and enter a short text.


To change the name of the section click on the current name and enter a new name.
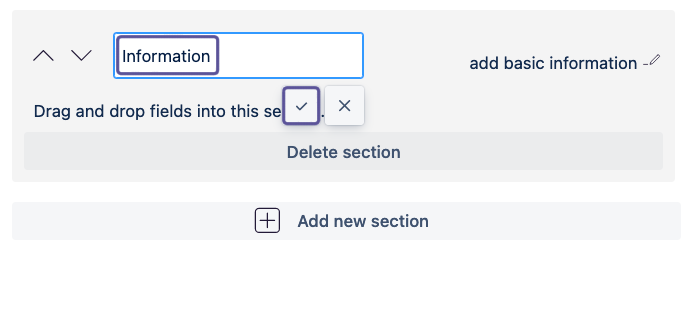
If you have more than one section you can change the order of the sections by clicking on the arrow buttons to move the section up or down.

To delete the section click on Delete section. Note that only empty sections can be deleted.
To save the changes click on the Save button.

Add fields to a section
With at least one section created you can start to fill your form with fields.
All predefined fields that are available to you are shown in the right sidebar.
Note that each field can only be used once in a form.
...
For a guide on how to create new fields check out our documentation (Data Forms fields - How to create, customise and delete Data Form fields ).
To add a field to a section just drag and drop it from the sidebar on the right into the section.

You can also drag and drop fields from one section to another.

Or remove a field from a section by dragging and droping it into the sidebar on the right.

If you press Configure on a field or the Cog icon,

dialog opens and you can:
change the name
change the description
specify that the field is required
specify a default value

Don’t forget to save your changes by clicking on the Save button.
