...
You'll be setting up your own "Create Issue"-forms on Confluence pages and trying them out.
| Info | ||
|---|---|---|
| ||
The User who views a page with the "Issue Forms – create form" must have the "Create Issue" permission within the specified Jira project. Otherwise Jira won't allow the creation of issues. |
| Expand | ||||||
|---|---|---|---|---|---|---|
| ||||||
|
...
| Info |
|---|
You can use an existing project or create a new one. We will use a simple "Task Management" project for this 101. Before you begin: To create a Jira Project, you must log in to your Jira instance with Jira Admin permissions. |
- Login into to your Jira instance.
- Click "Projects" => "Create project".
- Select "Task management".
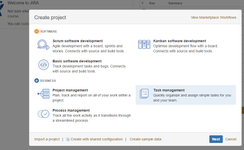
Click next till you can specify the Name and Key and enter these values:
Name Issue Forms 101 Key IF Project Lead your user 
- Switch to the Project settings and select "Screens".
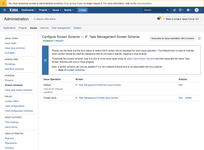
- Click on the "JINC: Task Management Create Issue Screen" and remove the following fields from the Screen:
- Reporter
- Attachment
- Labels
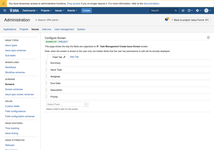
Now, this is what the "Create Issue" dialog should look like.

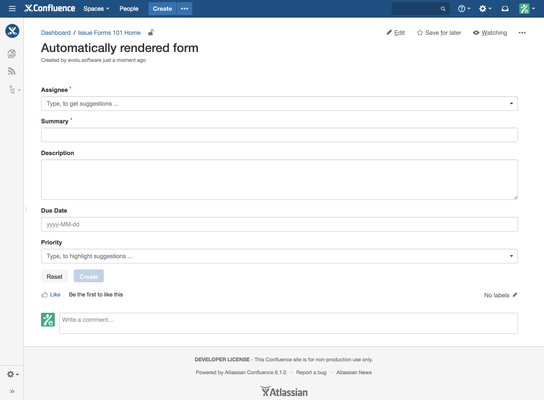
Embed an automatically rendered form into a page
- Log in to Confluence and click the Create button to add a new page.
- Insert "Automatically rendered form" as page title.
- Select "Other macros" to open the "Select macro" dialog.
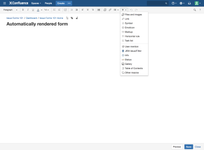
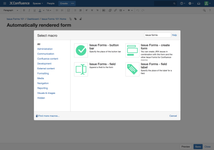
- Select the "Issue Forms – create form" macro.
- Select "Issue Forms 101" as Project and "Task" as Issue type and click Save.
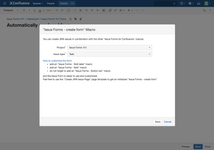
- An empty Issue create form will be added to your page.
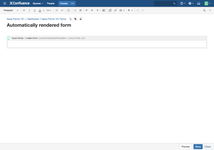
- Click Save to save the page and the "Create Issue" form will be rendered.
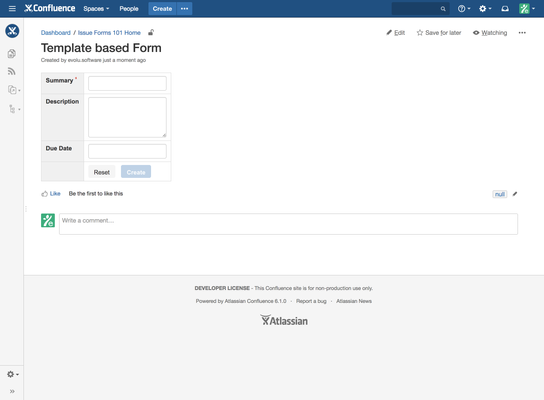
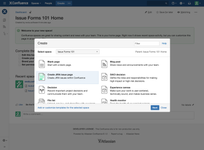
Embed a customized "Create Issue" form to a page
- Click the "Create from template" button.
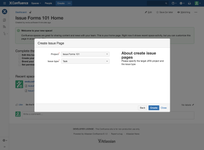
- Select the "Create Issue Page" template.
- Select "Issue Forms 101" as Project and "Task" as Issue type and click Create.
- Insert "Template based form" as page title.
- Edit the page e.g. remove the "Issue field " / " Issue field label " macros for assignee and priority.

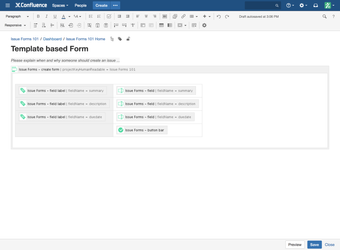
- Click Save to save the page and the "Create Issue " form will be rendered.