...
| Table of Contents | ||
|---|---|---|
|
Create a new field
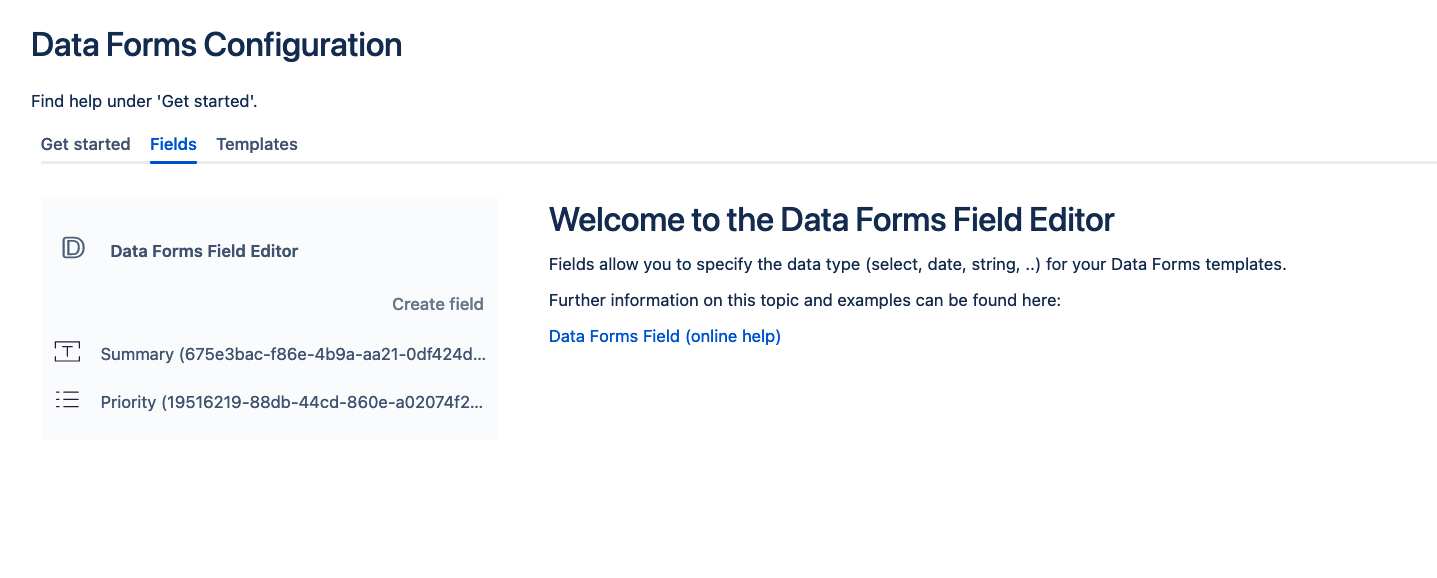
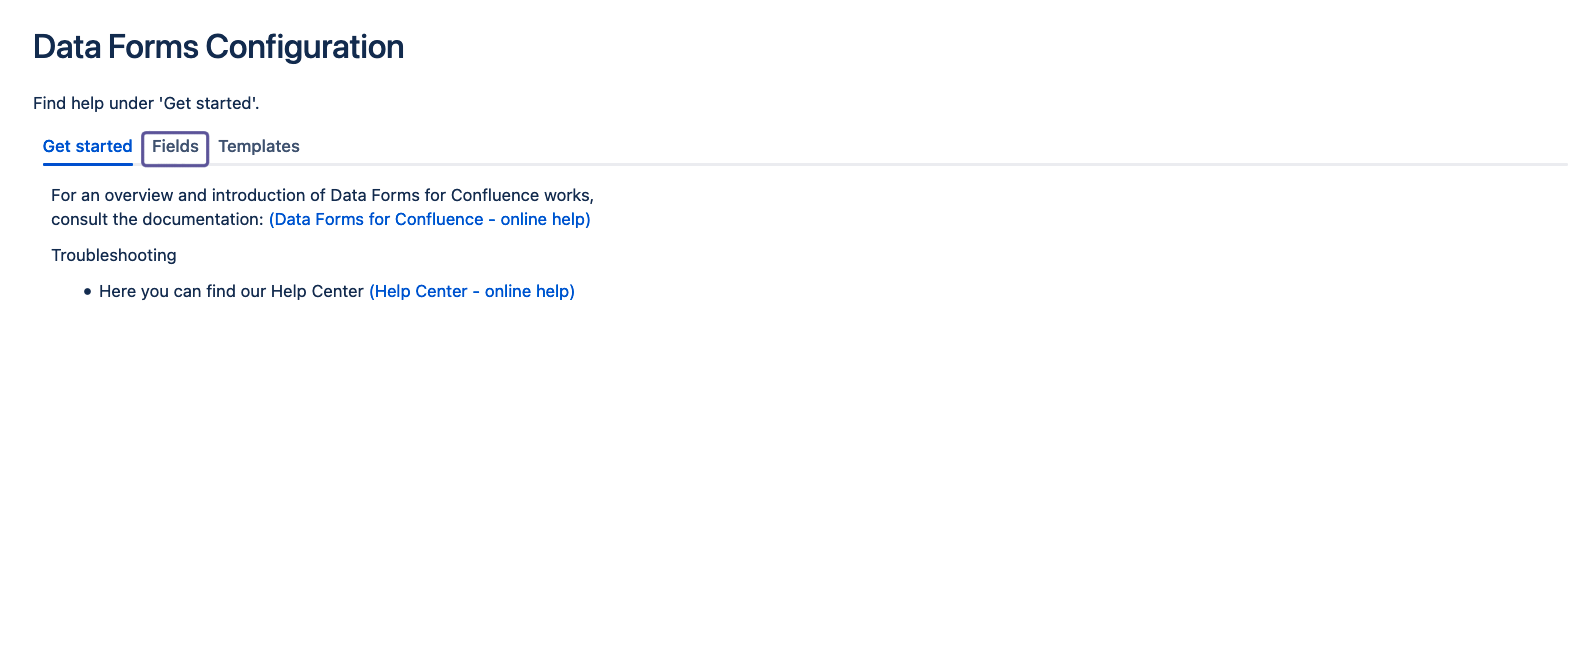
In the Data Forms Configuration panel go to the Fields tab.
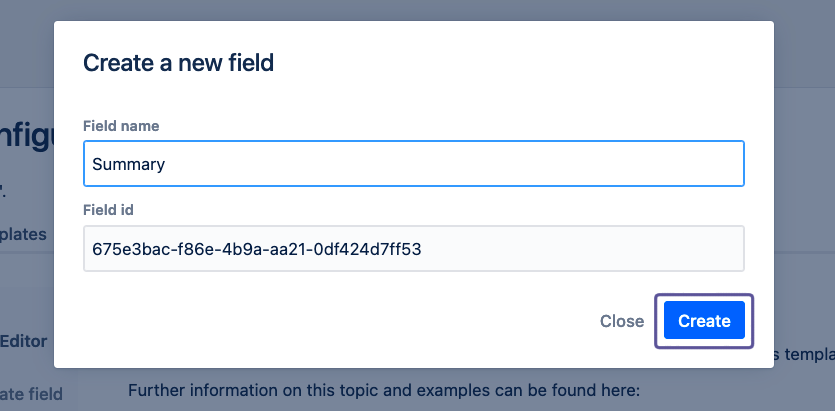
Click on Create field. A modal will open.

Add a name for the field and click Create.
Your new field is now created and will be shown to you.
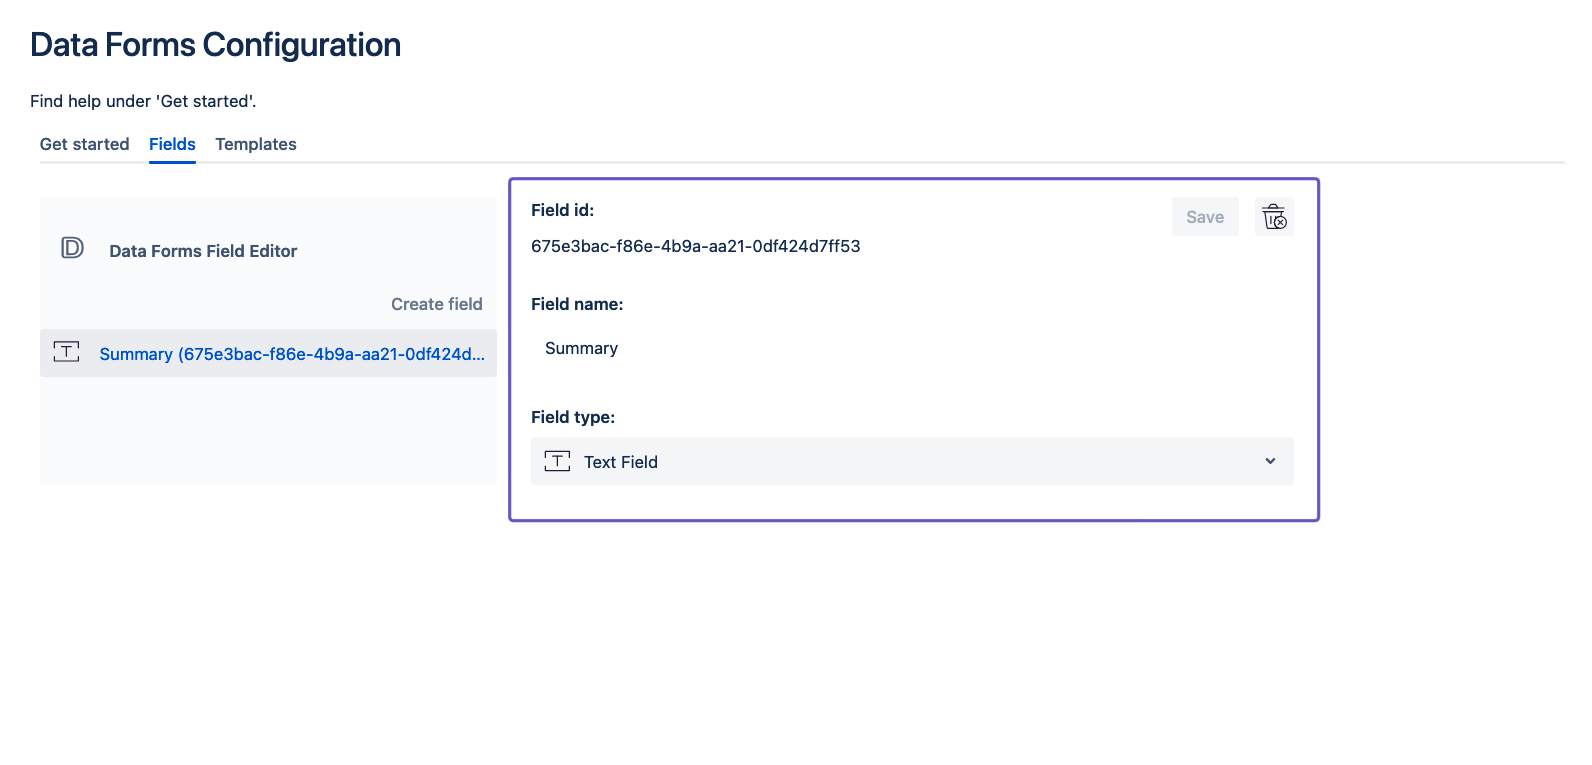
Note that the field has the type Text Field by default. The field can now be further customised.
Rename a field
In order to customise a field you first need to select it by clicking on it in the left sidebar.
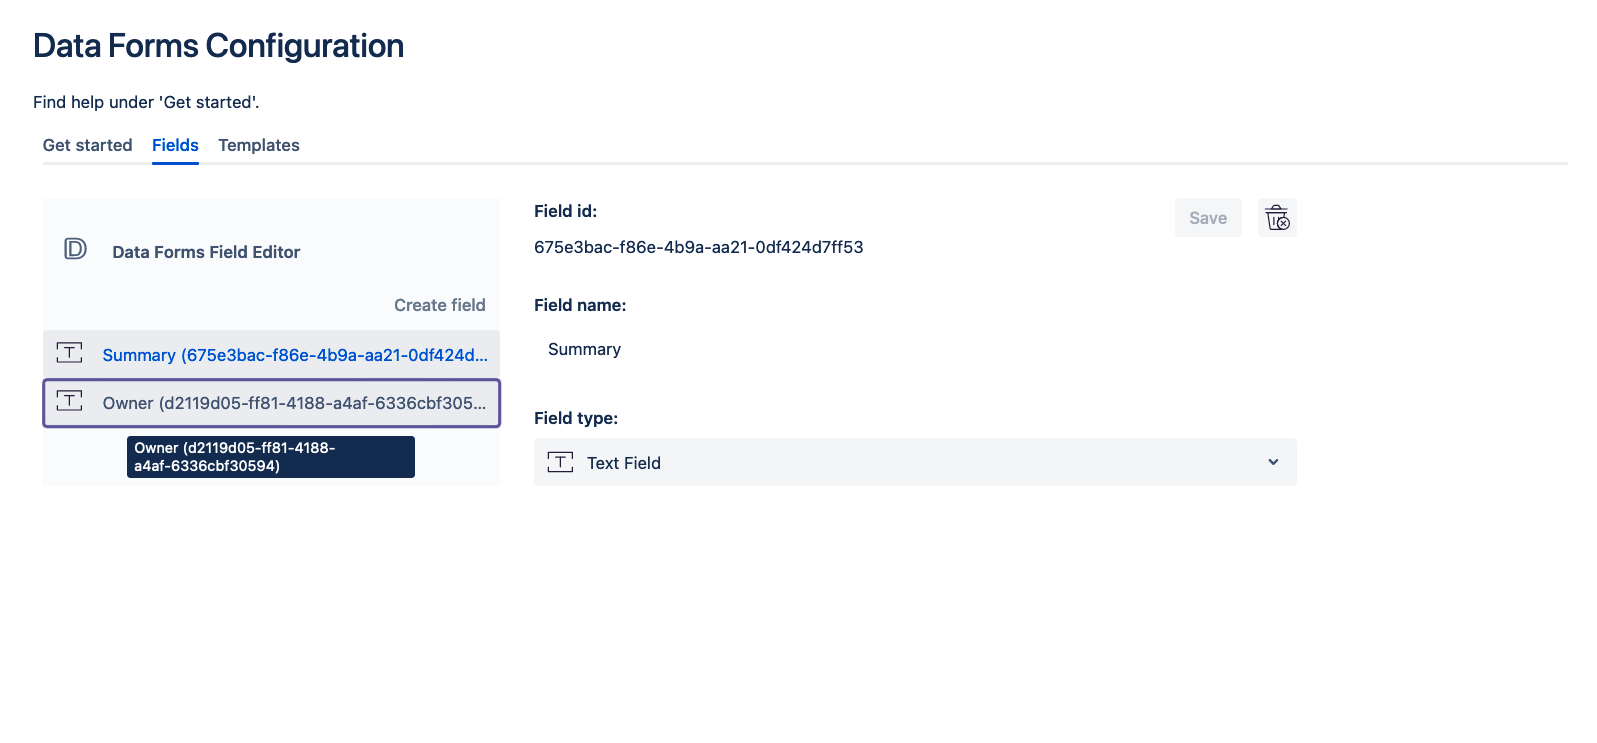
To change the name of the field click on the current name and delete the old name.
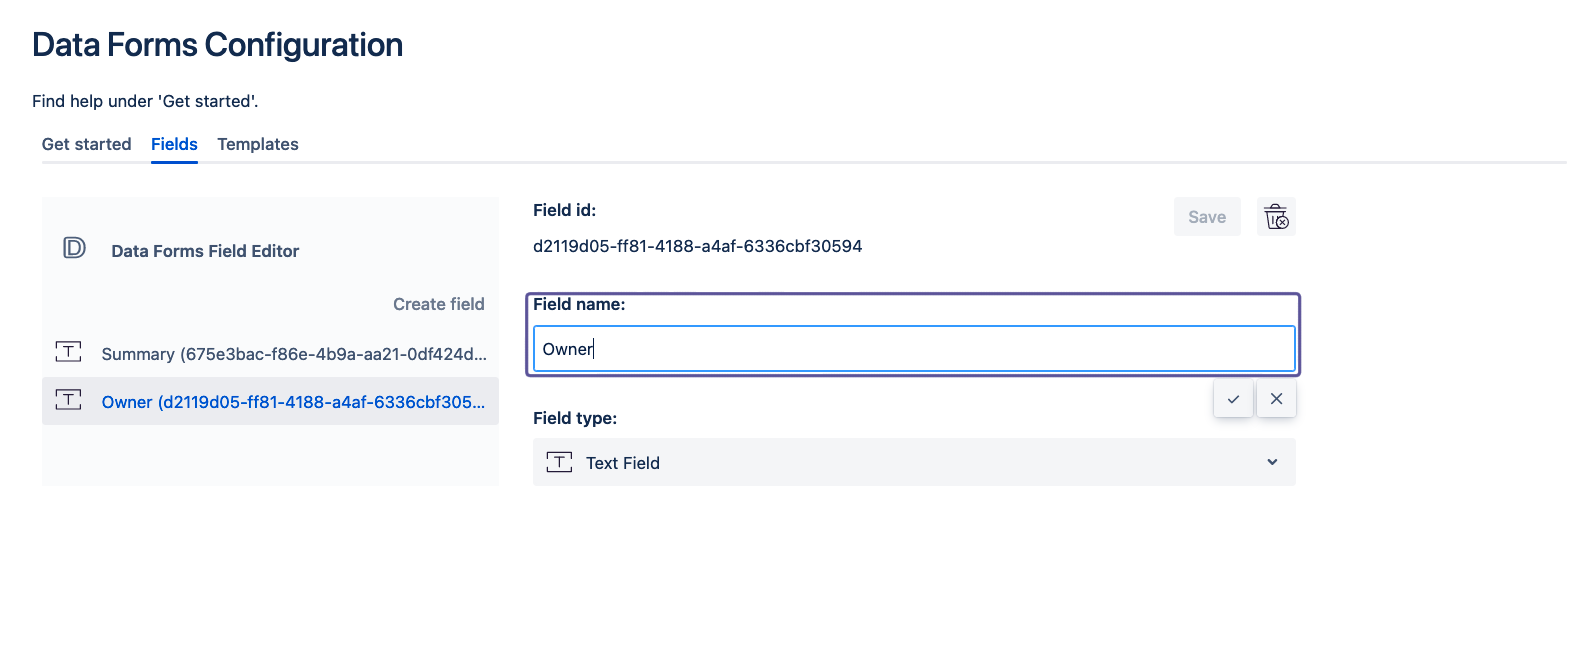
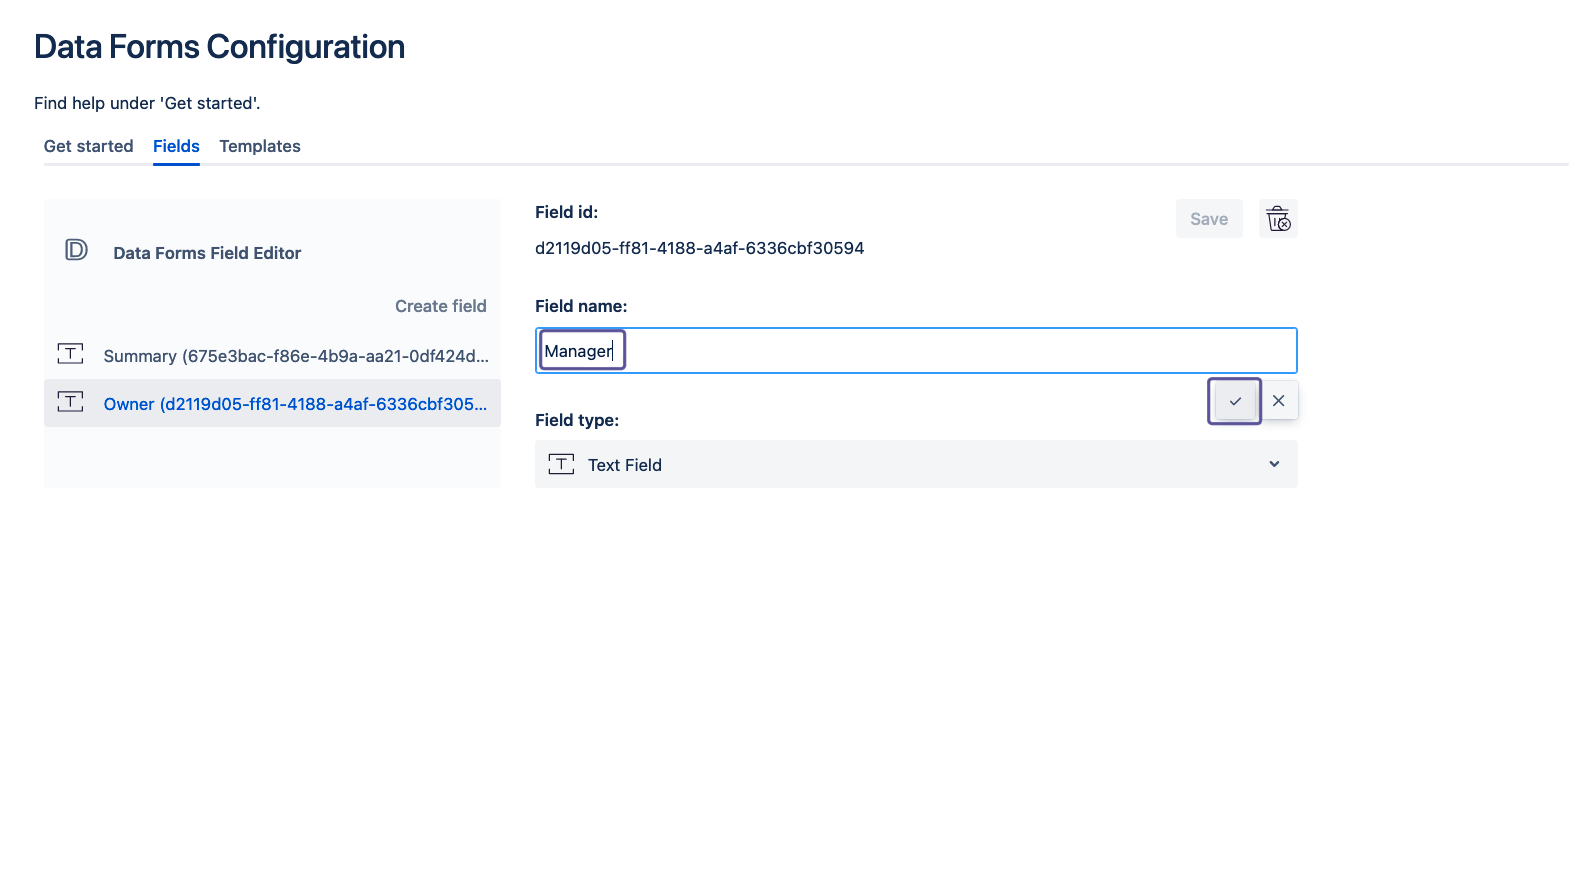
Input a new name and click on the check mark to submit the new name. But note that this change is not yet saved.
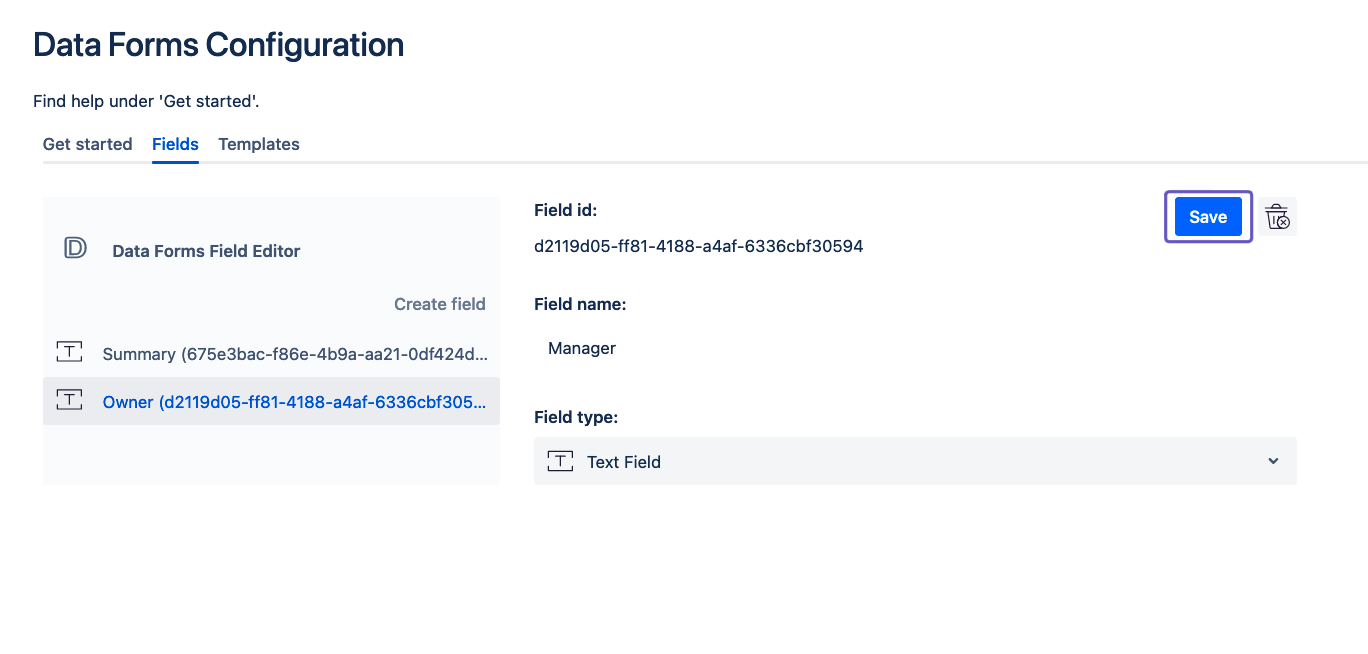
To save the change click on the Save button. (The Save button will only be enabled if there are any changes to be saved.)
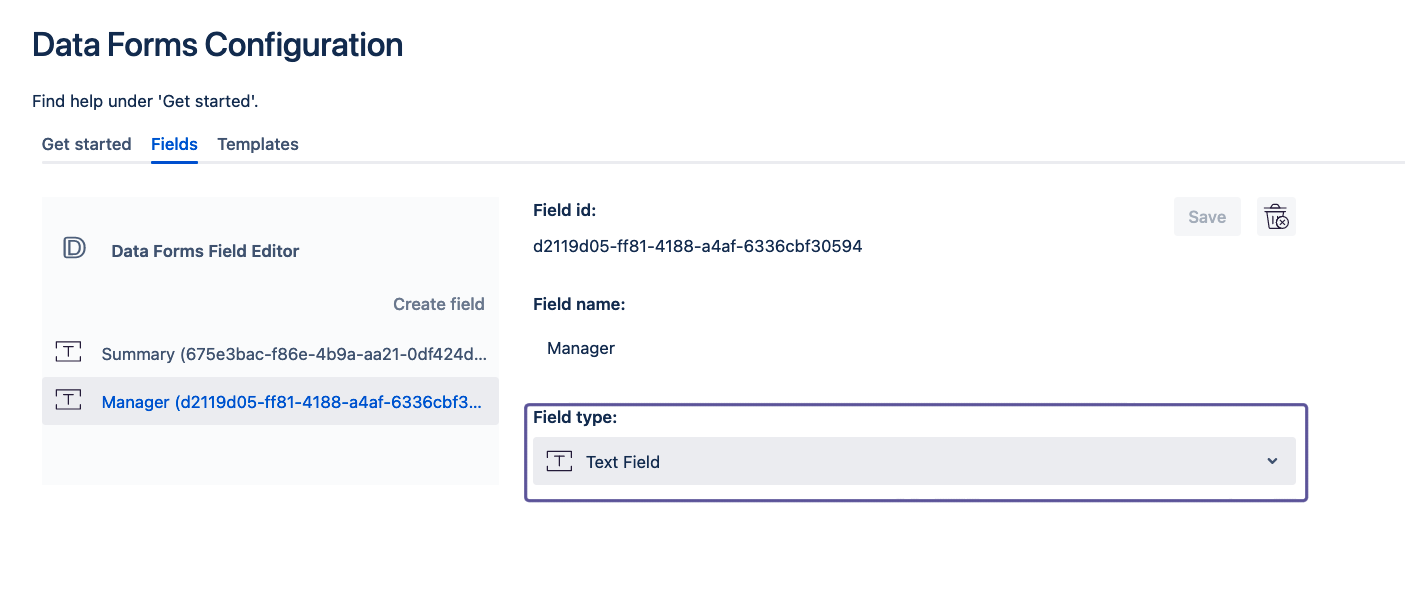
Change the field type
In order to customise a field (on this page you can find all field types Possible Field Types ) you first need to select it by clicking on it in the left sidebar.
To change the field type of the field click on the current field type.
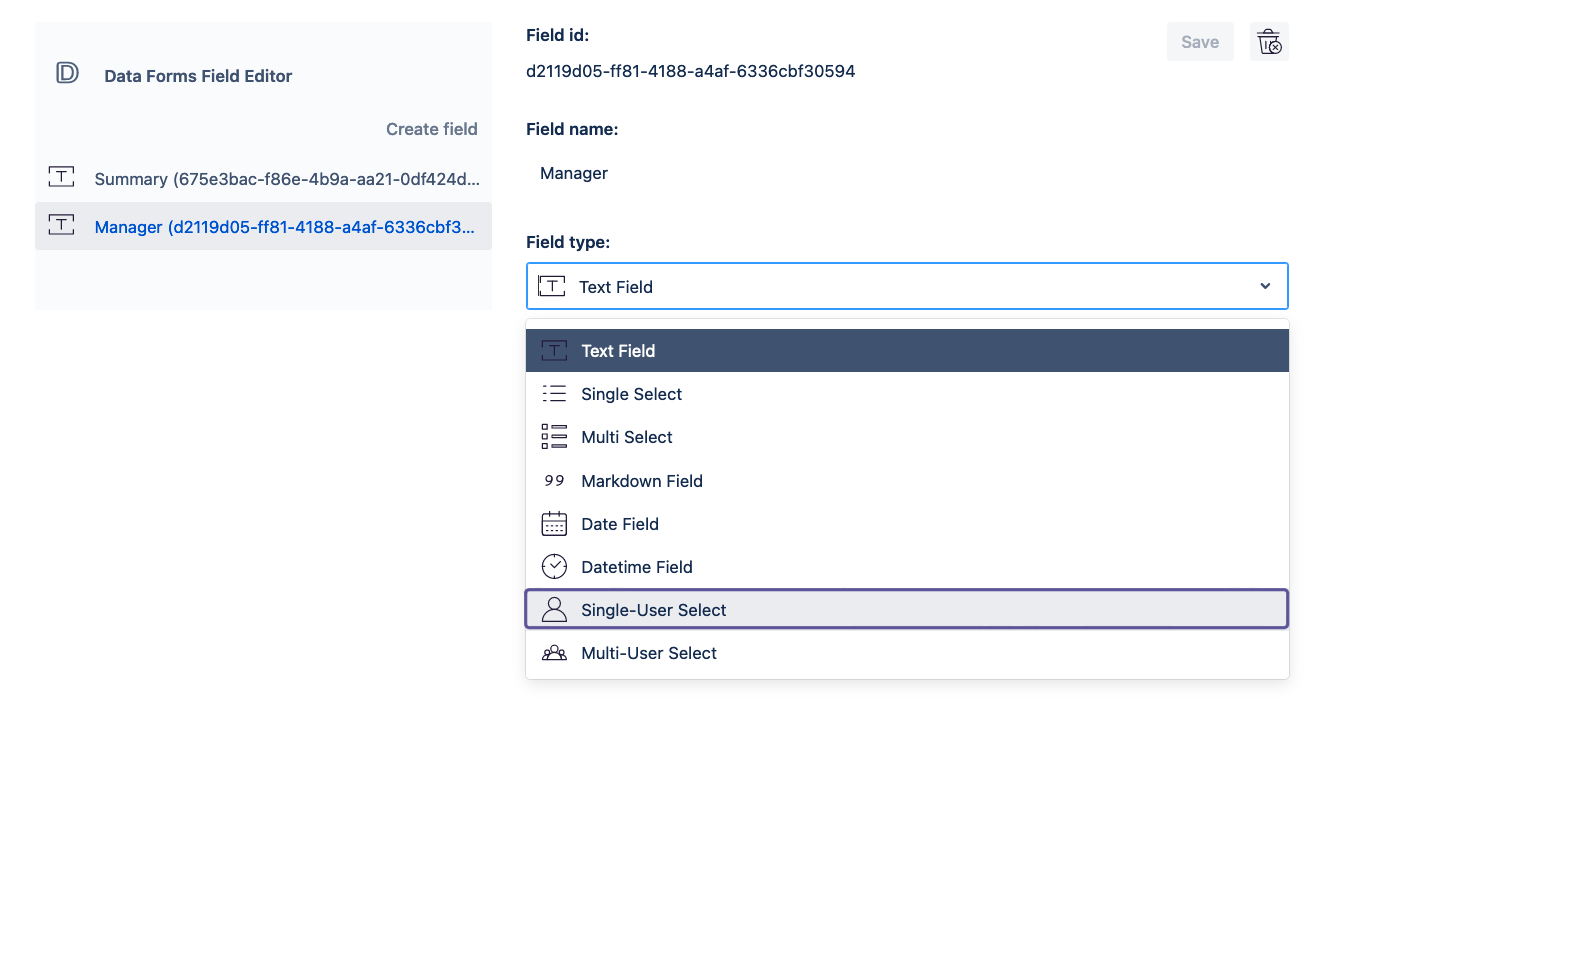
A dropdown will open. Select a new field type for your field.
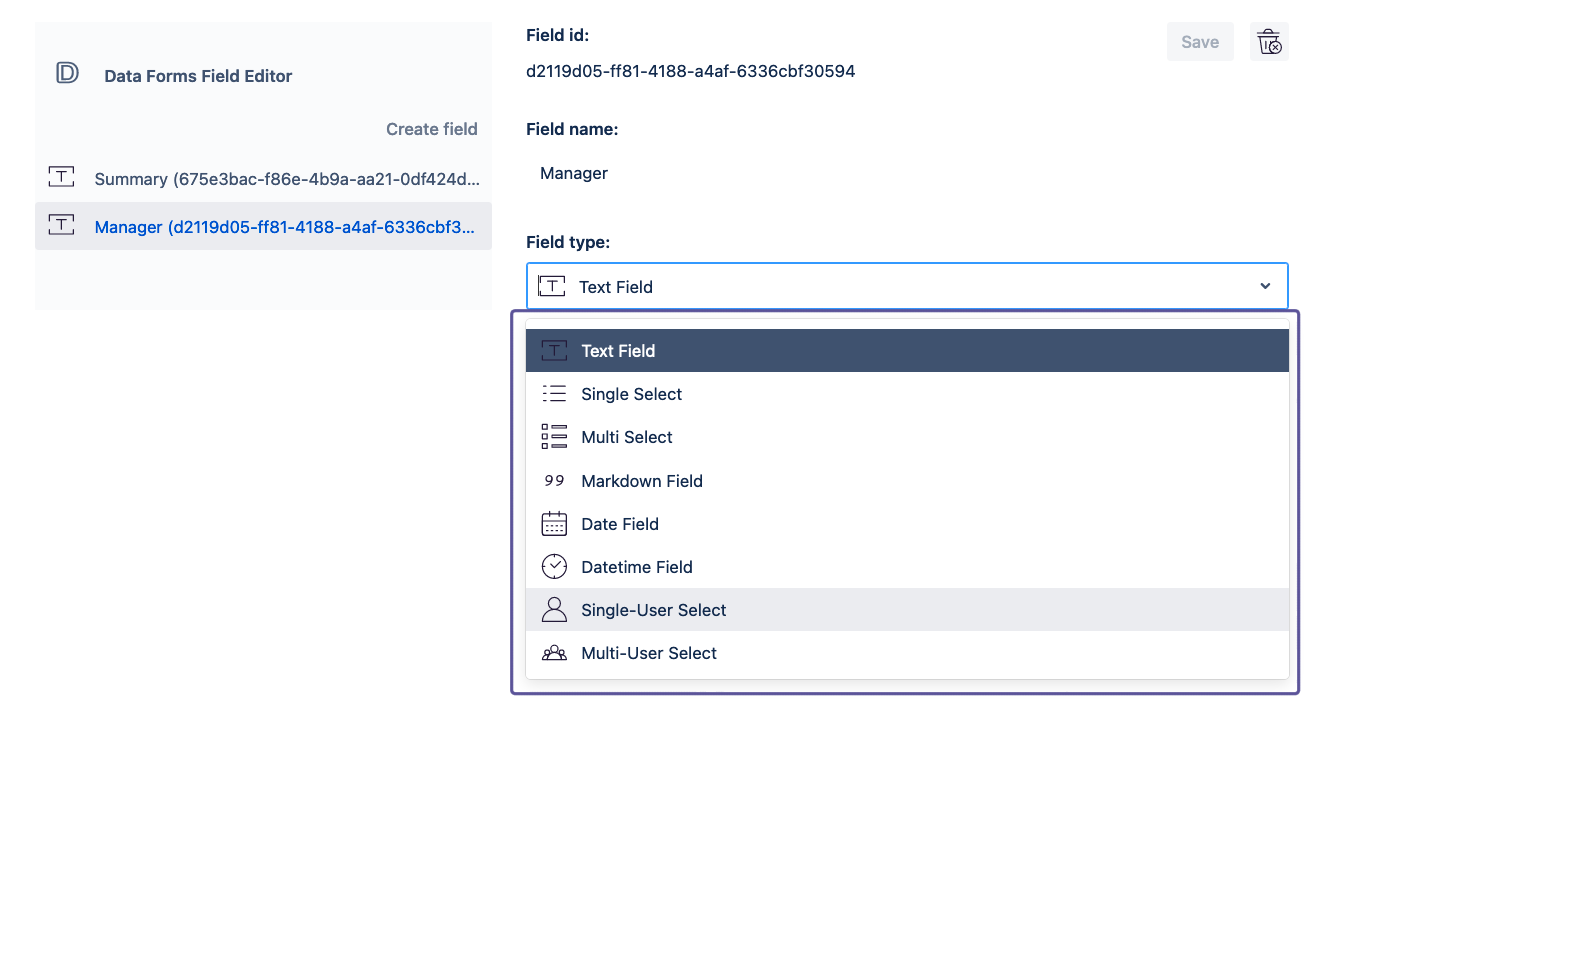
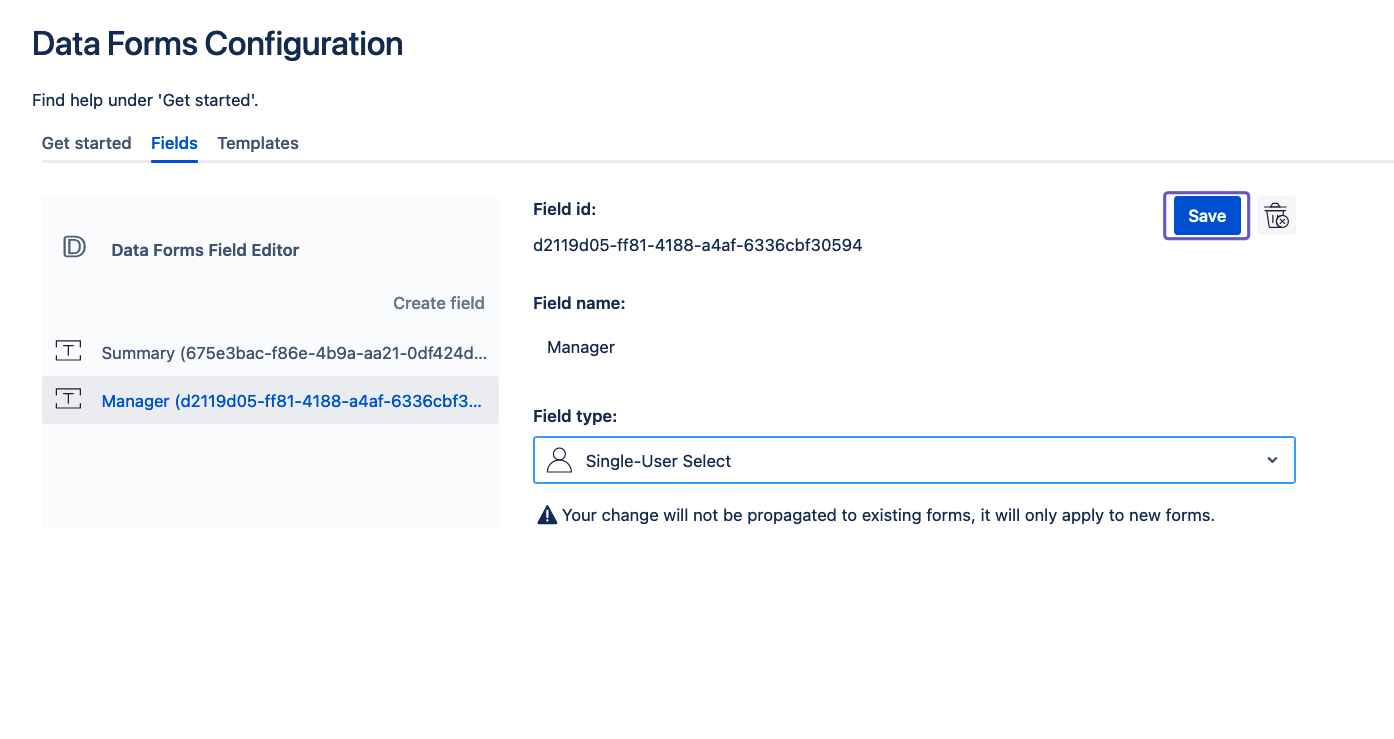
Clicking on a new field type will select it and close the dropdown menu. Note that this change is not yet saved.
To save the change click on the Save button. (The Save button will only be enabled if there are any changes to be saved.)
Add options to a select or multi select field
Creating a Single Select or Multi Select field will only make sense if you add some options for the users to chose from. Selecting Single Select or Multi Select as the field type will add some additional input fields for you to fill out.
...
Under Allowed value click on Enter new value and input the value for this option.
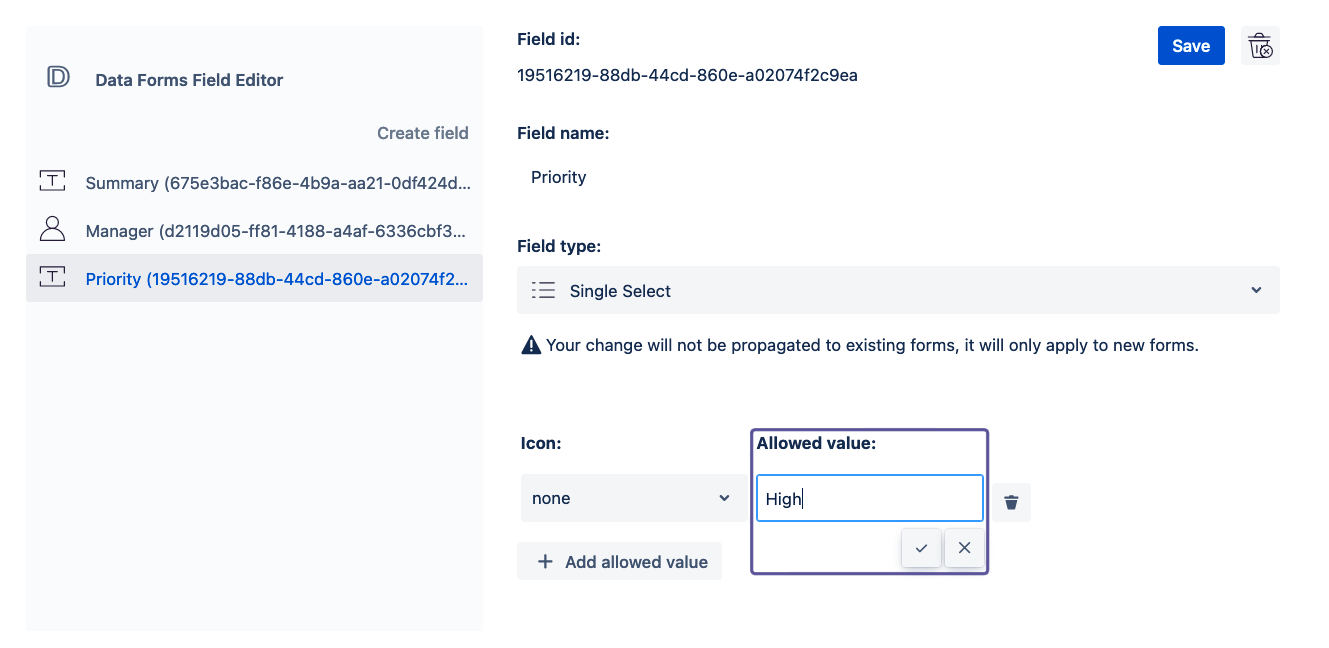
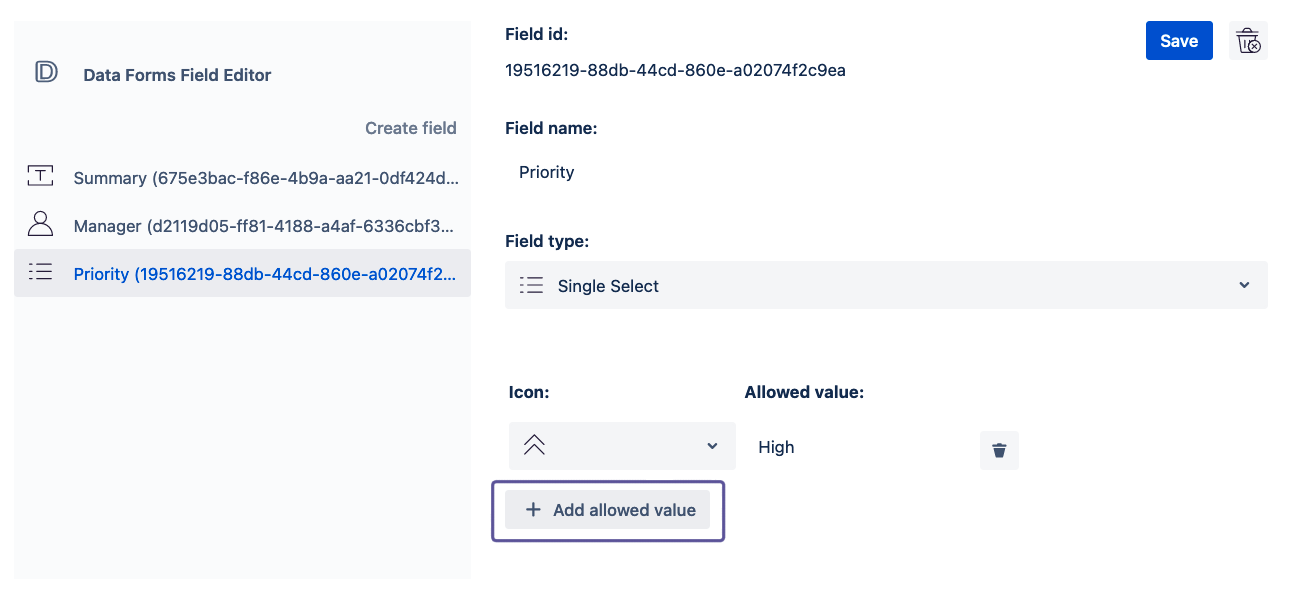
You can add an icon to this value by clicking on none under Icon. Pick an icon or lozenge from the dropdown menu by clicking on it.

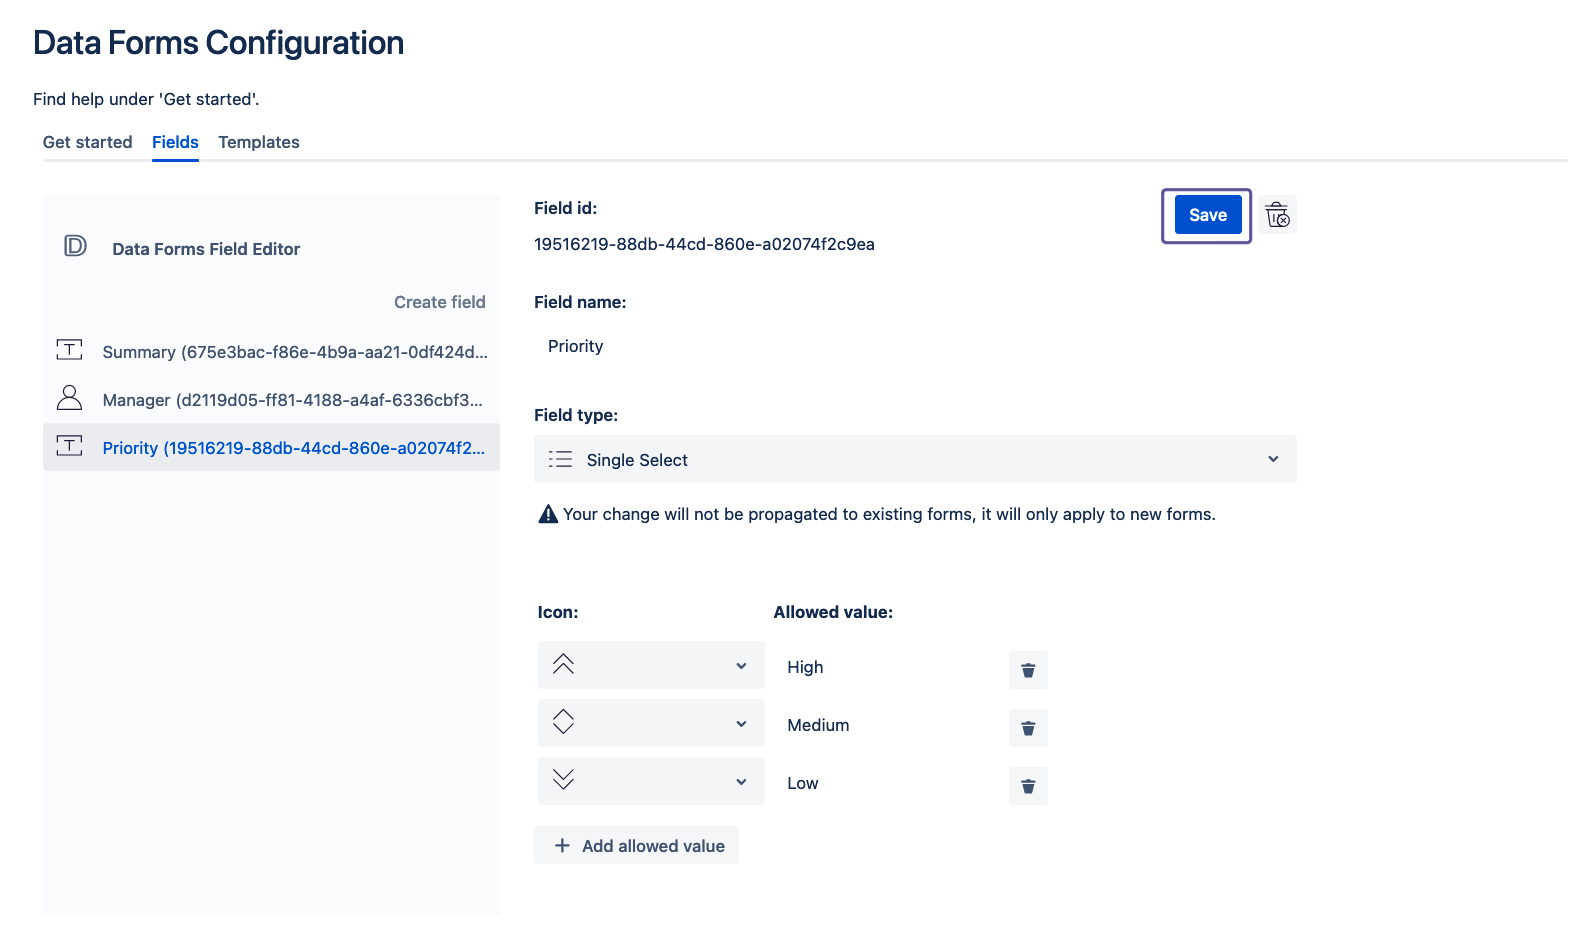
To add more options click on the Add allowed value button and customise the options as described in steps 1 and 2.
To save the options click on the Save button.
Delete a field
In order to delete a field simply click on the bin button. A modal will open. Click on Confirm delete.
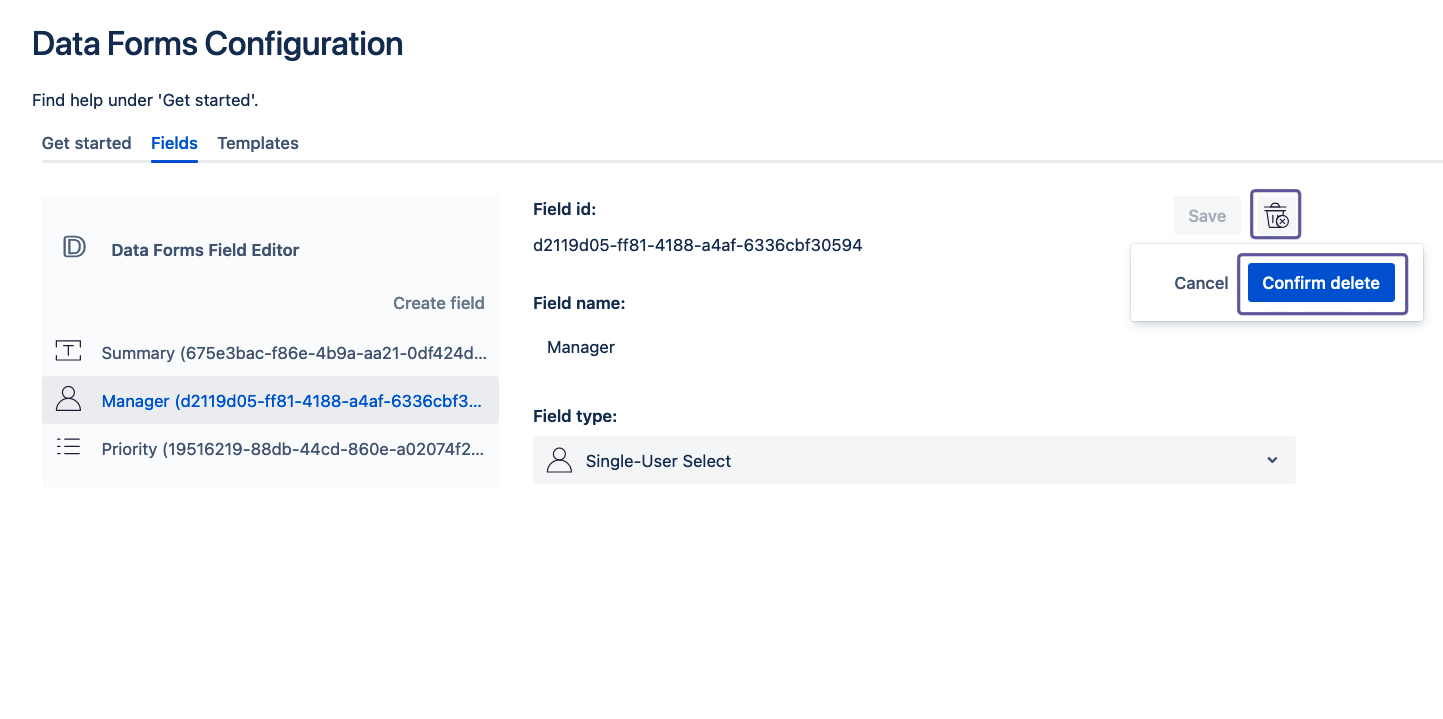
The field is now deleted.