This feature requires Issue Forms for Confluence version 2.0 or higher
You may know that the standard Jira Marco of Confluence is not fully customizable. That's why we have created the "Issue Forms - view form" macro. With this macro, you can define which values are shown to the user.
Step-by-step guide to render an extended Jira macro and edit the issue
This feature requires Issue Forms for Confluence version 2.8 or higher
- Open the page in edit mode and insert select the "Issue Forms - view form" macro via "other macros". Browser and insert an issue key of an existing issue (e.g TESTCORE-1).
The Save on the dialog will be enabled if there is an issue in Jira matching the given issue key. Now click "Save".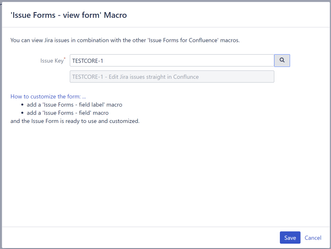
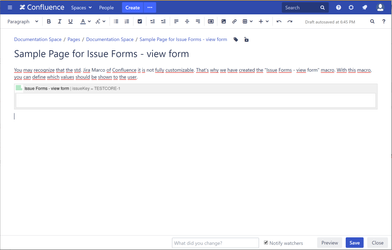
- Save the page.
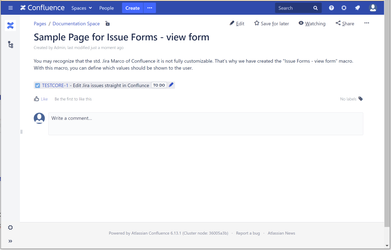
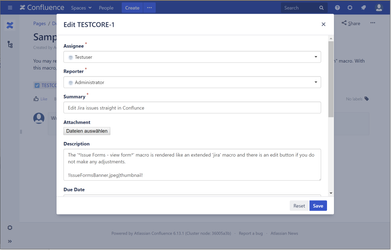
- The macro is now displayed like a Jira macro. Additionally it has an edit icon.
- If you hover the mouse over the issue key a dialog will open.
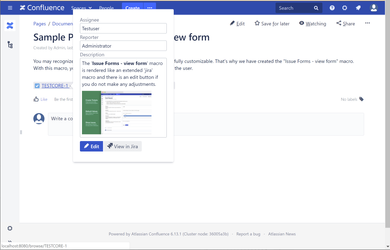
- Click Edit to edit the issue.
Step-by-step guide to creating your own view form
- Open the page in edit mode and insert the "Issue Forms - view form" macro via "other macros".
Browser and insert an issue key of an existing issue (e.g STP-20). The Dialog will enable the Save button if there is an issue form Jira matching the given issue key. Now click "Save".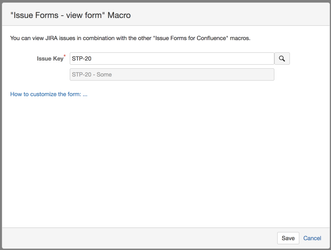
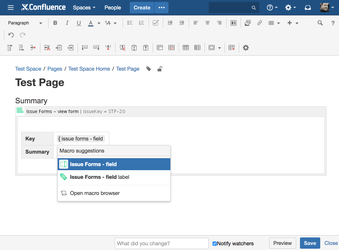
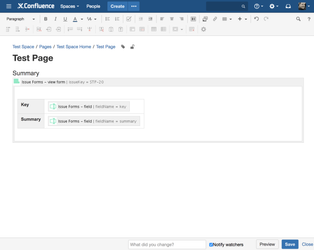
- Create a table with two columns and rows within the "Issue Forms - view form" macro. Insert "Key" and "Summary" as Text as shown in the following screenshot.

- Type "{issue forms - field" as shown in the screenshot and select the "Issue Forms - field" macro.
- Select the "Issuekey (key)" field and click "Save".
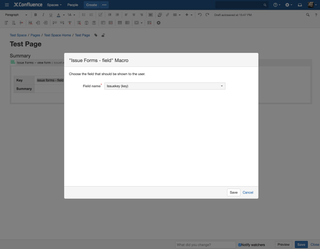
- Repeat Step 3 and 4 for "Summary"and click "Save".
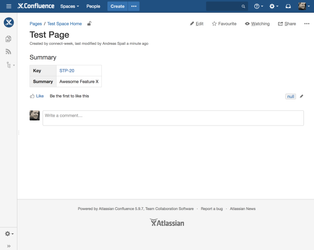
- The issue key and the summary of the specified issue will be shown on the page.
Related articles