How-to use user-related metadata values within Jira Service Desk as part of your goals
This How-to will show you how you can use user based Metadata to enhance your service desk by adding Service Levels.
If you are not sure what Service Levels are, you can learn more about Service Levels here.
Instructions
Add Service Levels to the Metadata User Field and Customer Screen (as Jira Administrator)
- Login to your Jira account.
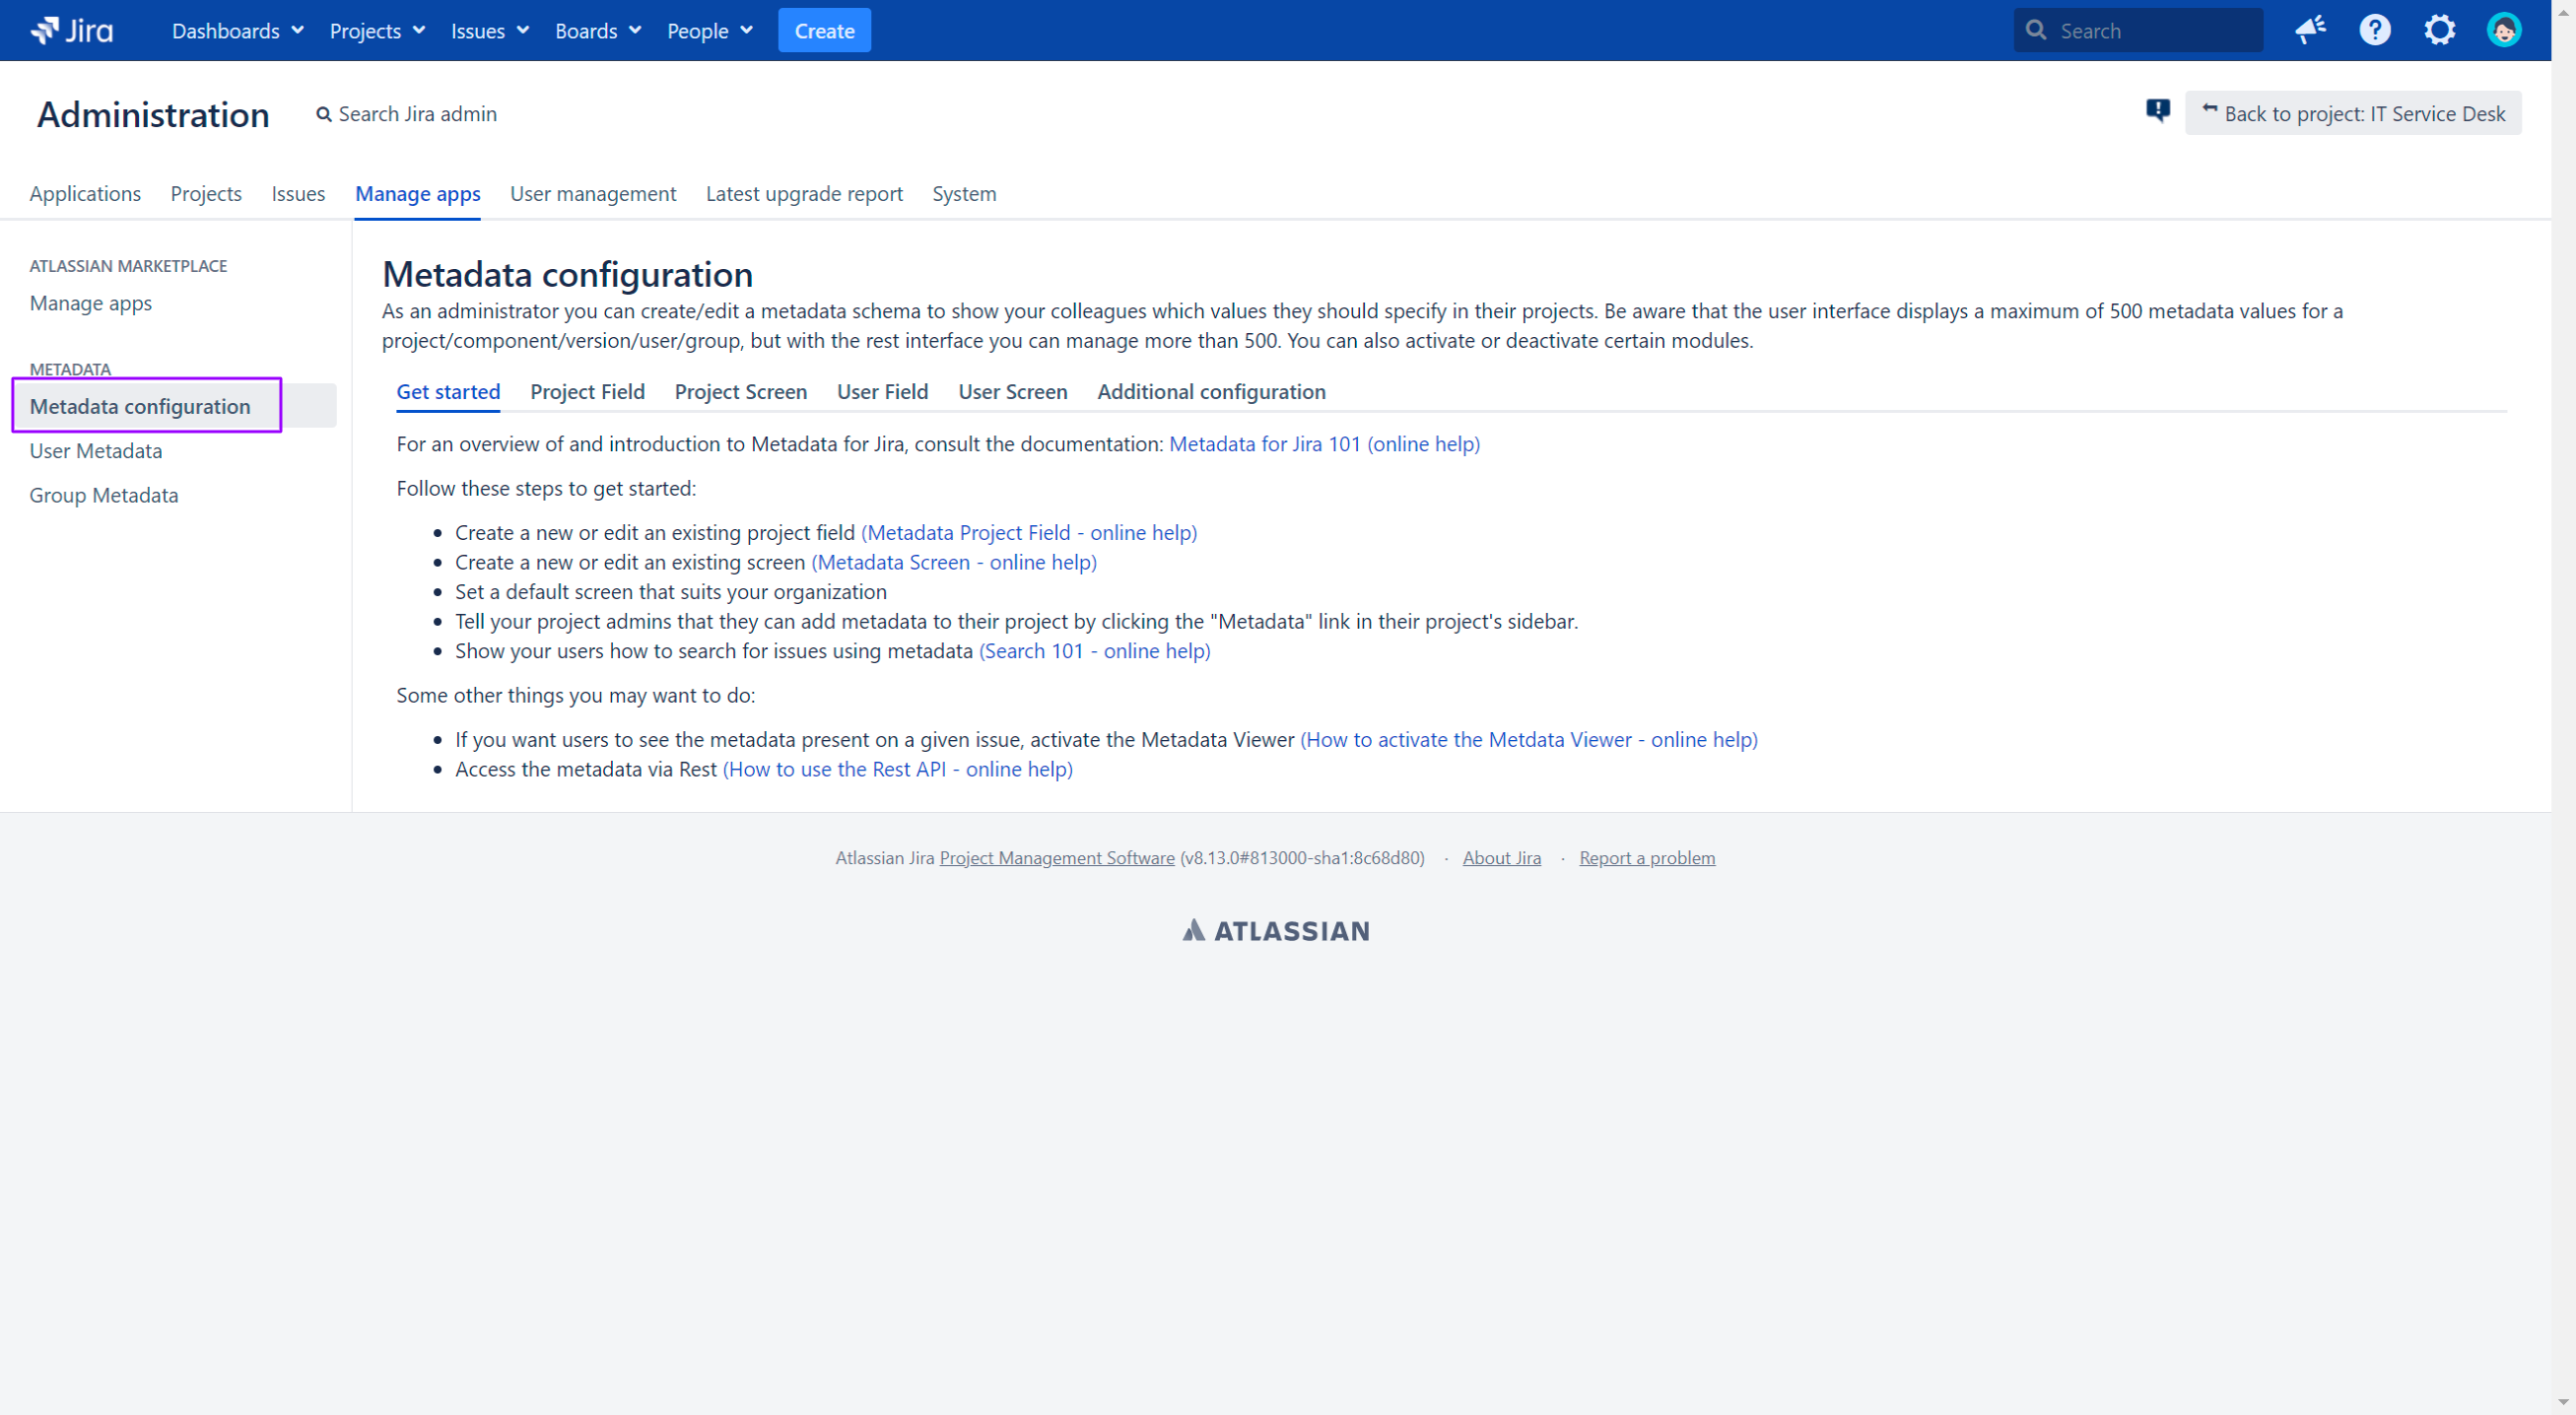
- Click on the ⚙️ Settings Button on the top right corner and chose Manage Apps.

- Click on Metadata configuration.
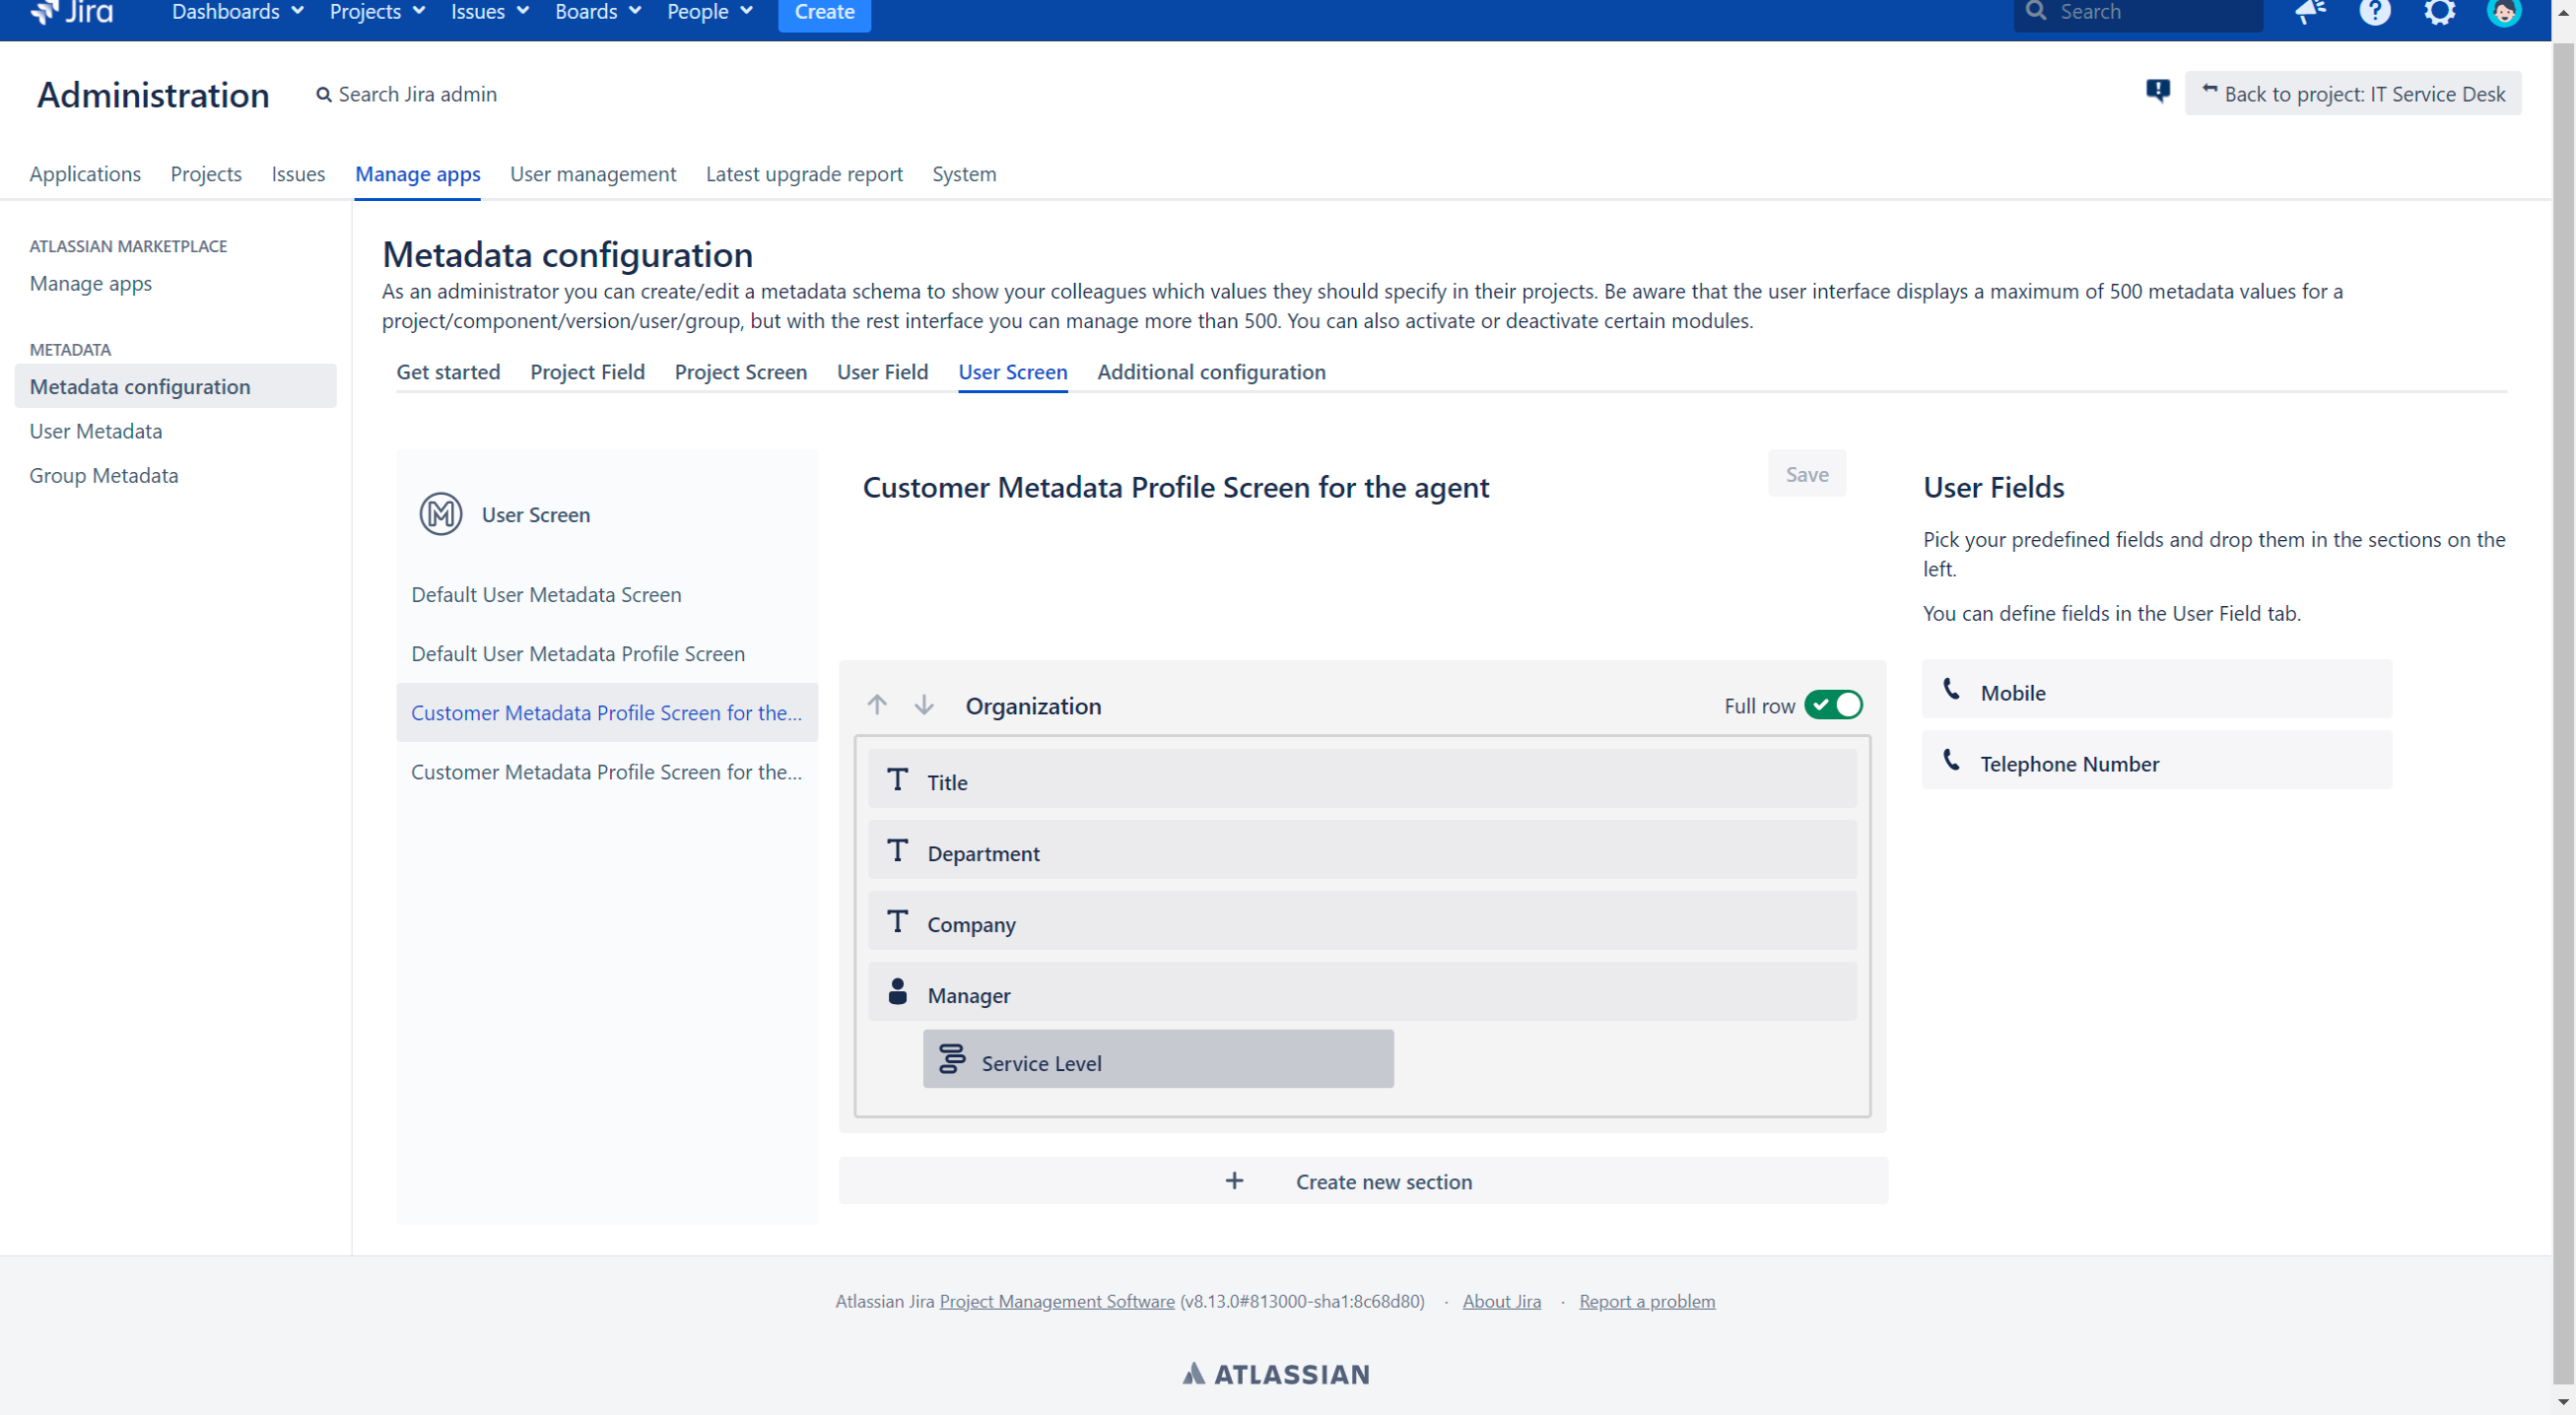
- Select the User Field tab and create a Field called Service Level with allowed values Platinum, Gold, Silver (further Details about: How to create and customize User & Project Fields)

Reload the page, select the User Screen tab and select the Customer Metadata Profile Screen for the agent sceen (further Details about: How to customize the Metadata Project Screen as Jira-Administrator)
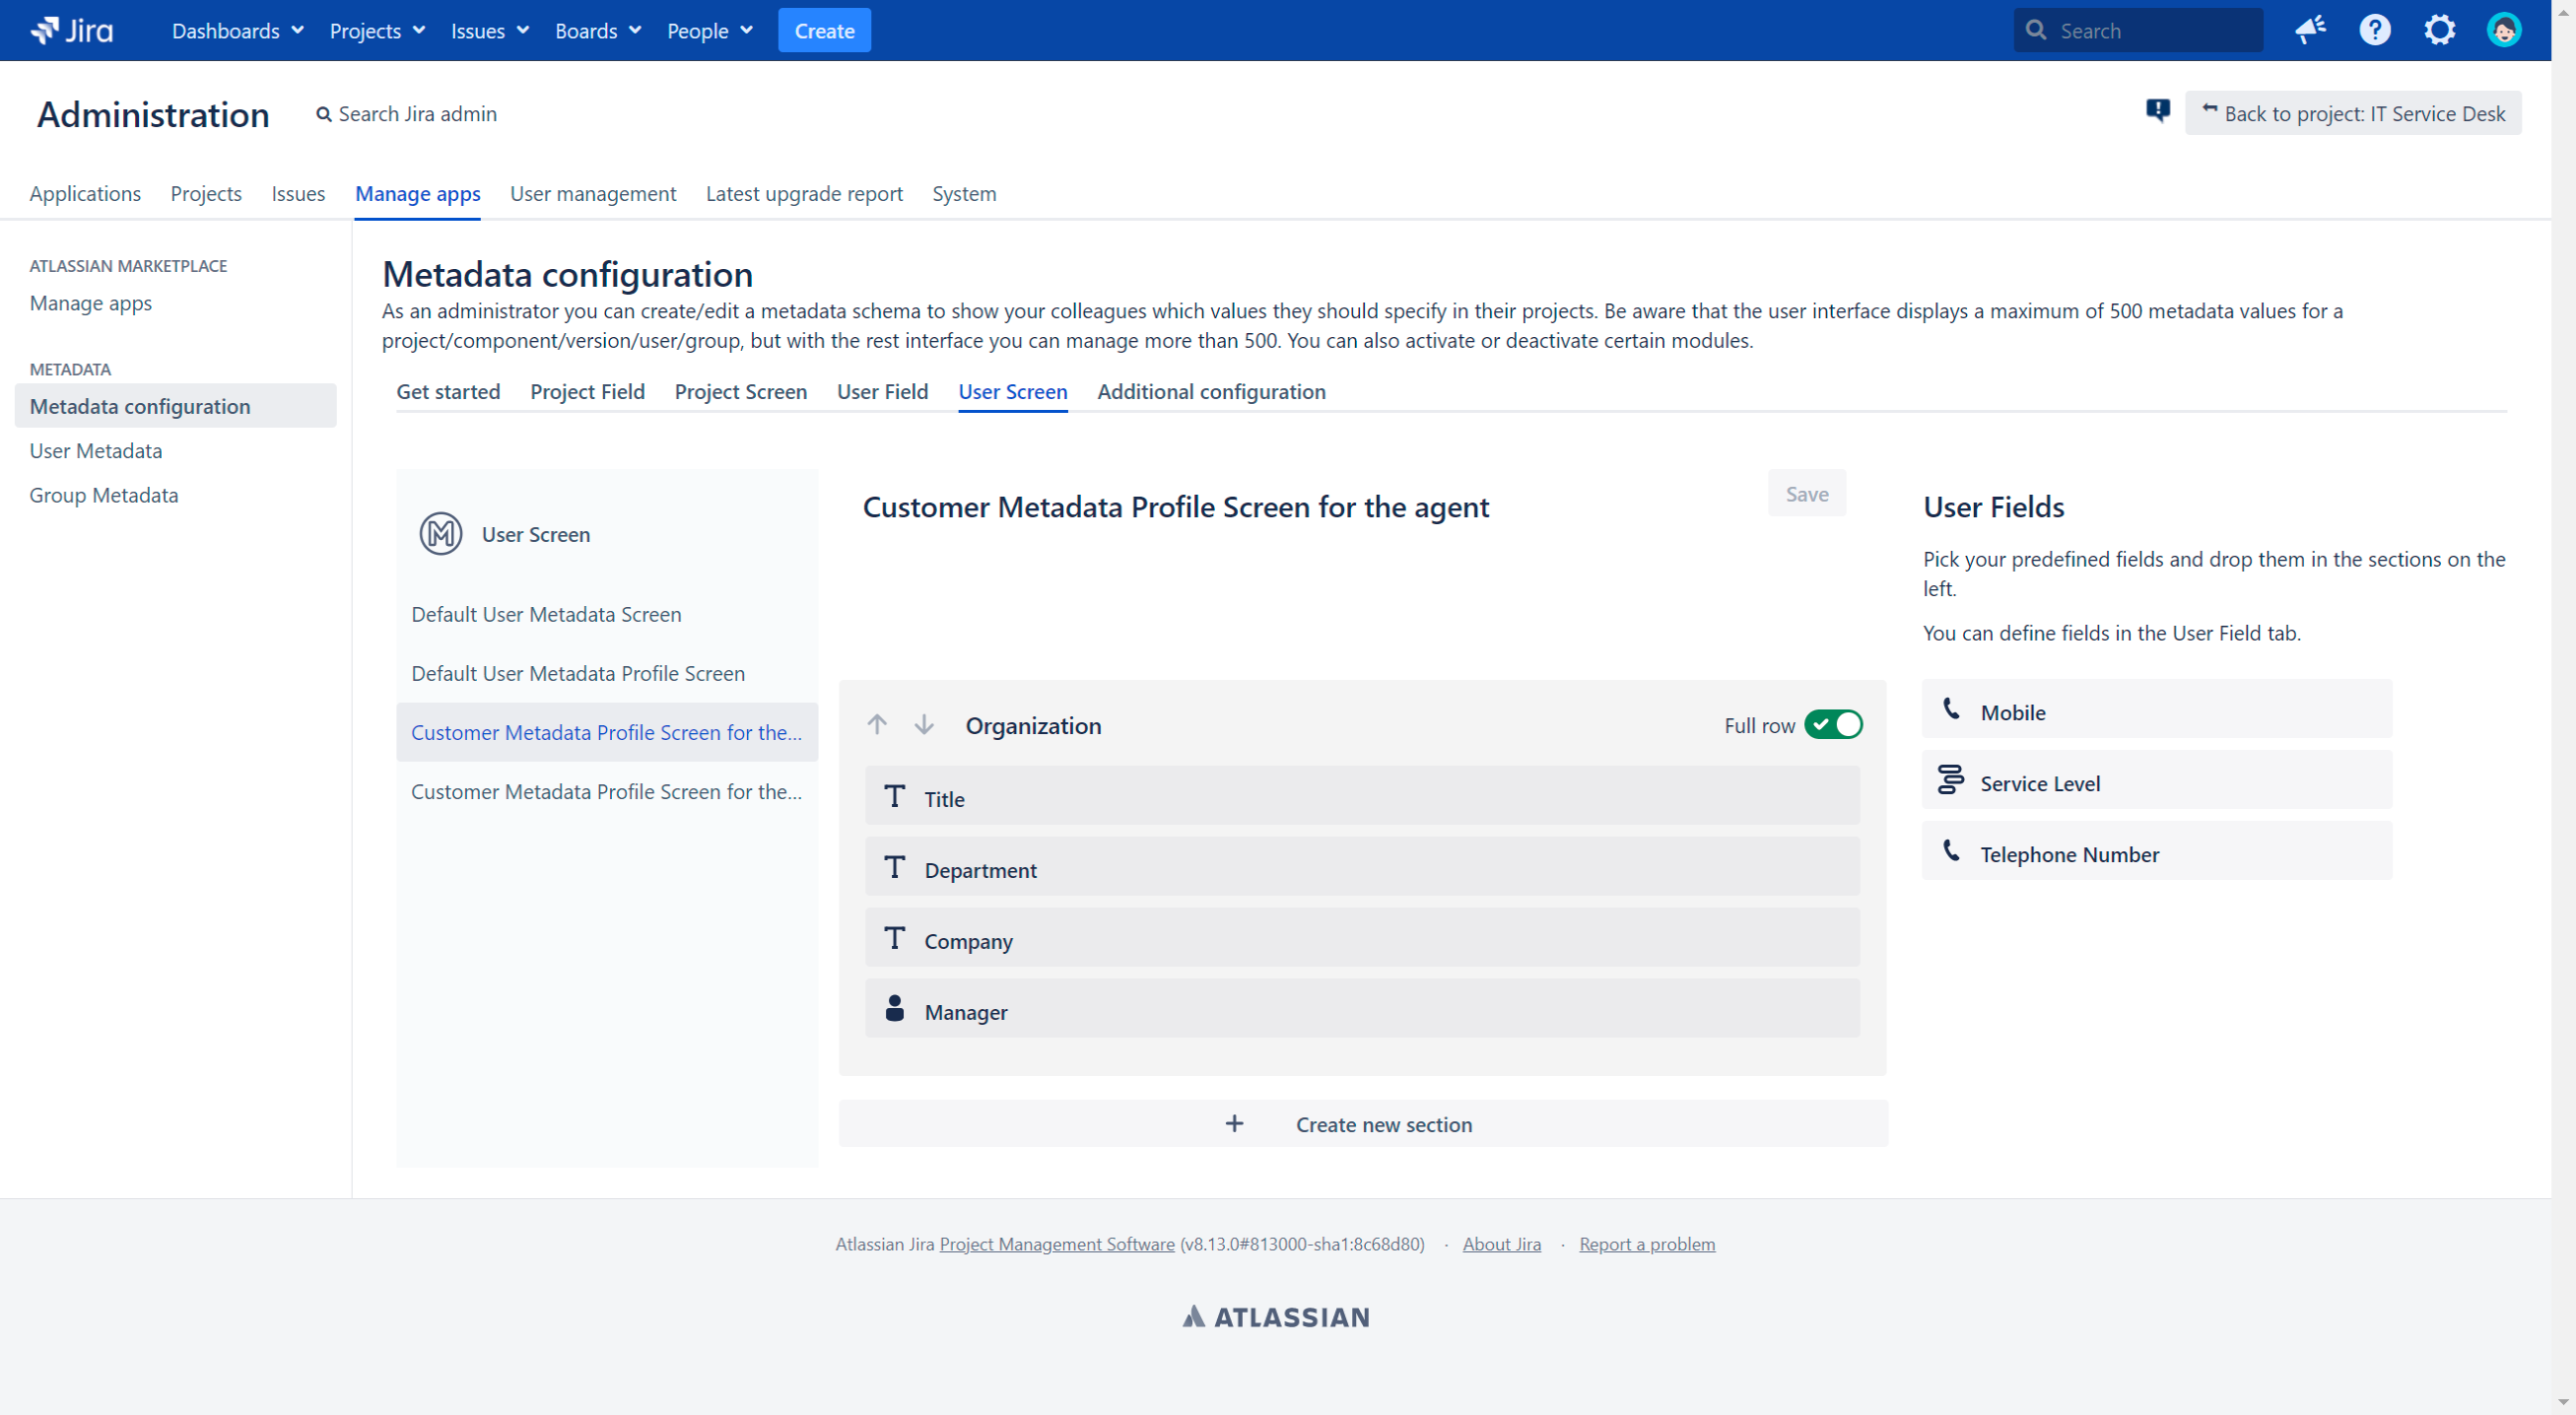
- Drag the Service Level field into an existing section and save the screen
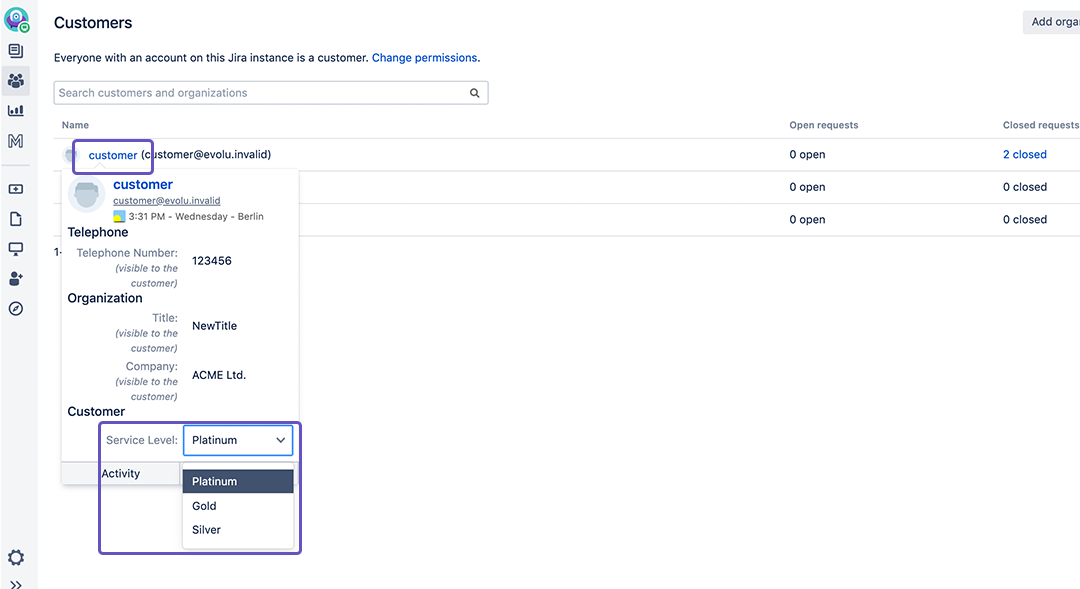
Set the Service Level for your Customer
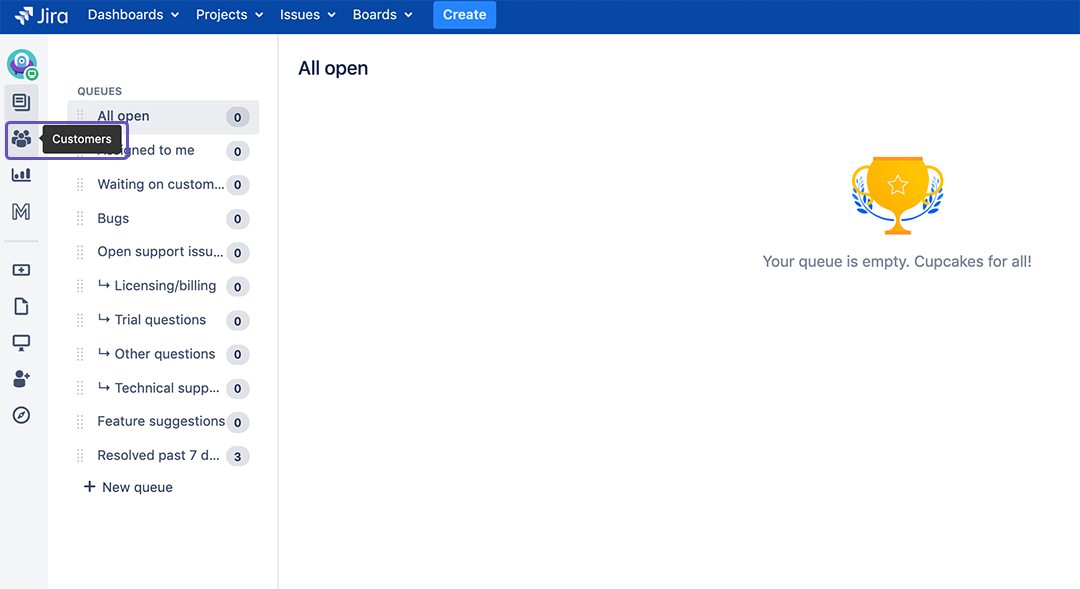
- Go to a project and click on Customers.
Mouse over will show you the Metadata hover menu. Here you can set the Customers Service Level.
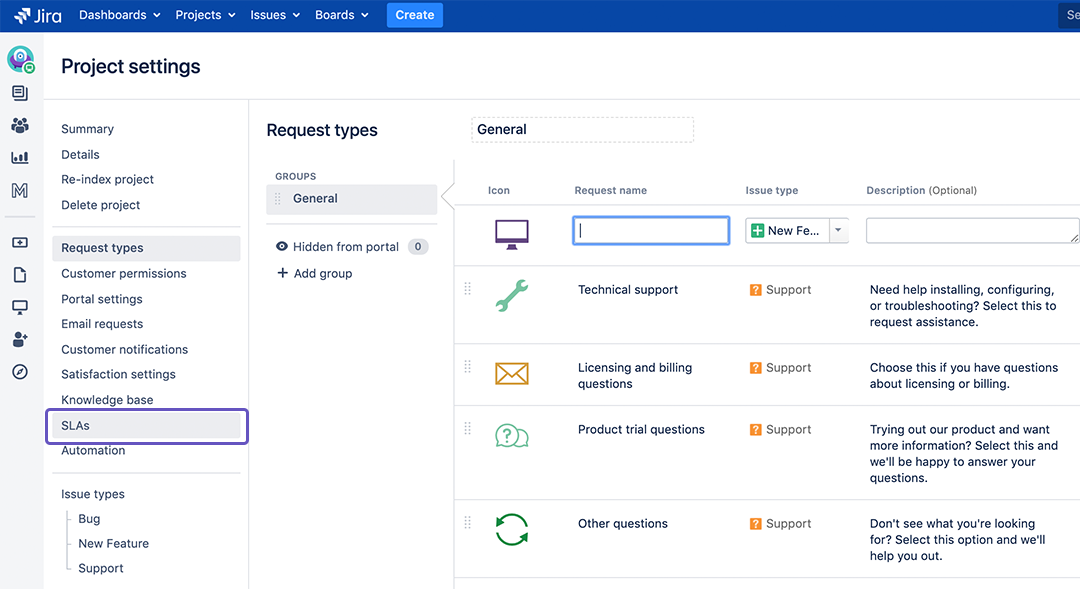
Create a Service Level Goal for the Service Level Metadata
- Click on the ⚙️ Project Settings Button in the bottom left corner.
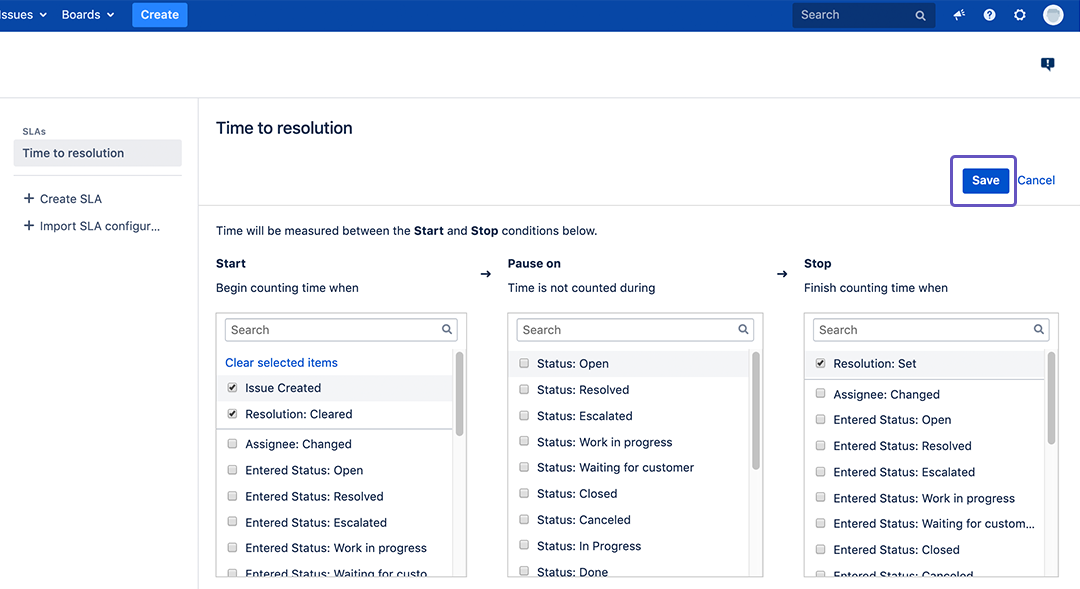
- Click on SLAs.
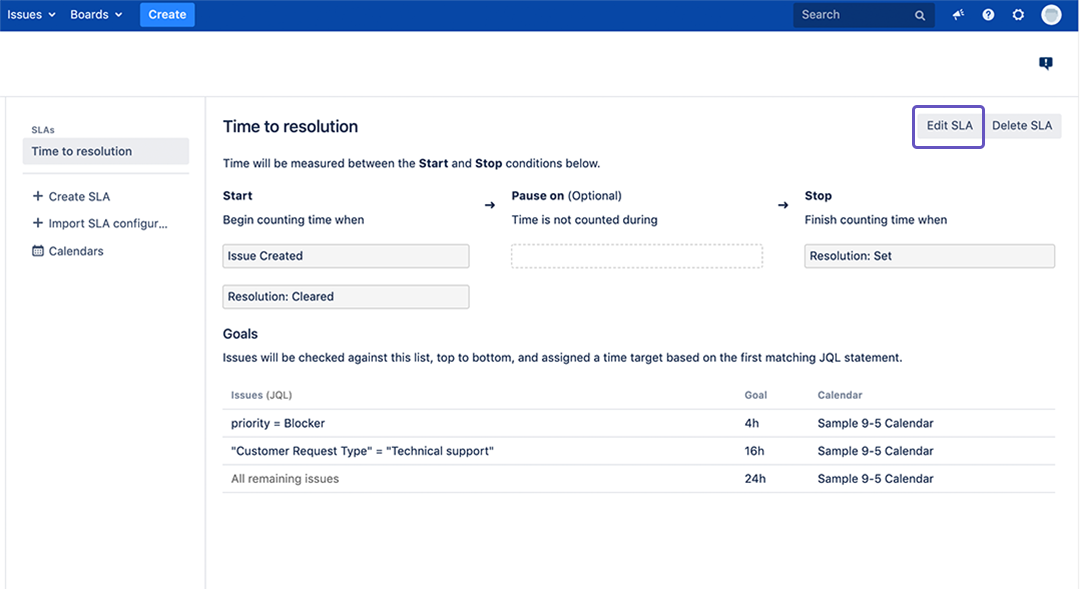
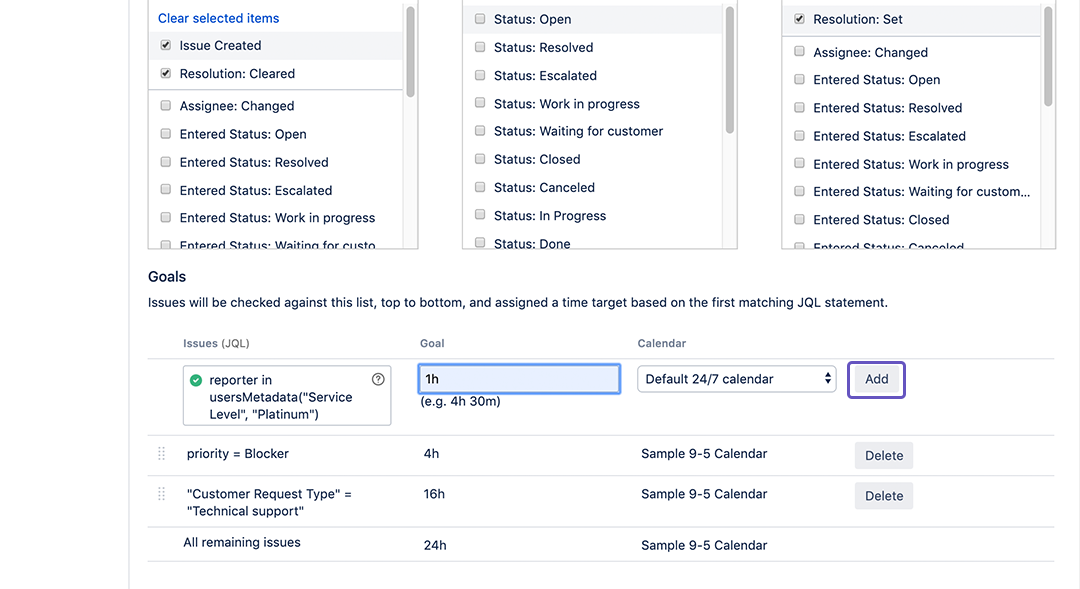
Click on Edit SLA.
Scroll down to Goals. Here you can search for issues with JQL and set a goal for them. For example:
JQLreporter in usersMetadata("Service Level", "Platinum")If you set the goal for this JQL to 1h (1 hour) all Issues from Service Level Platinum Customers will have set the time to resolution to 1 hour.
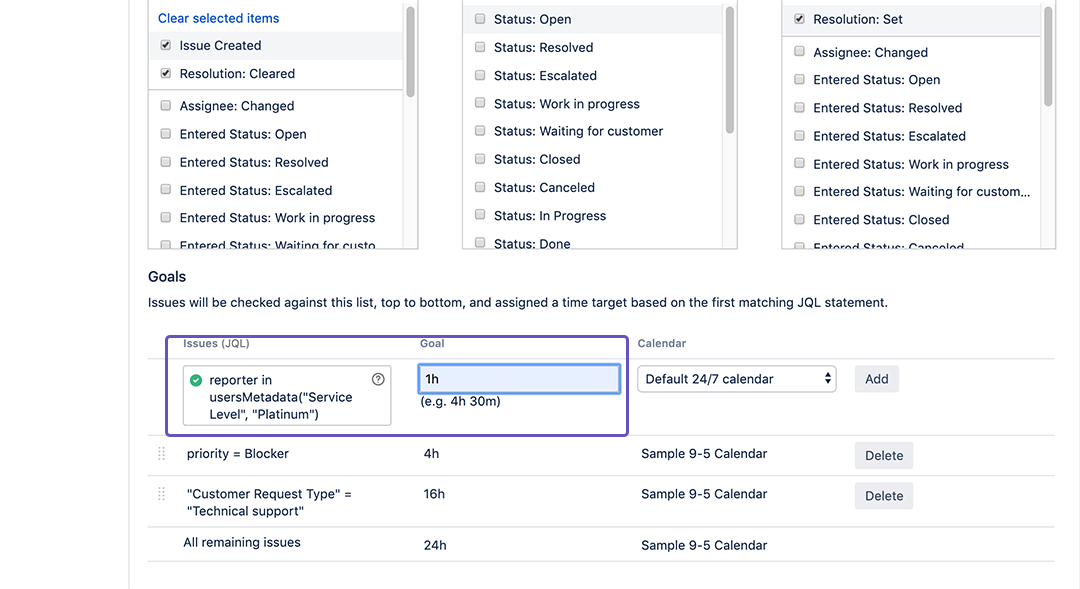
- Click on Add, scroll up and click on Save.
To learn more about check out this article on how to set up Service Levels.
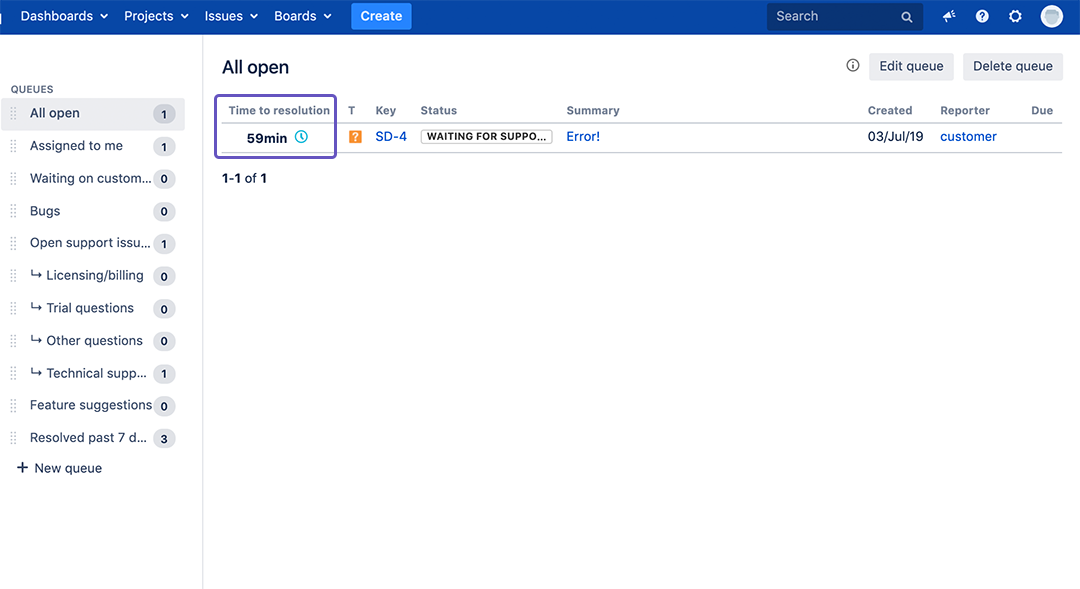
Now whenever a Customer with the Service Level Platinum creates a new issue, it will come with the set goal of (in our case) 1 hour to resolution.
Related articles